
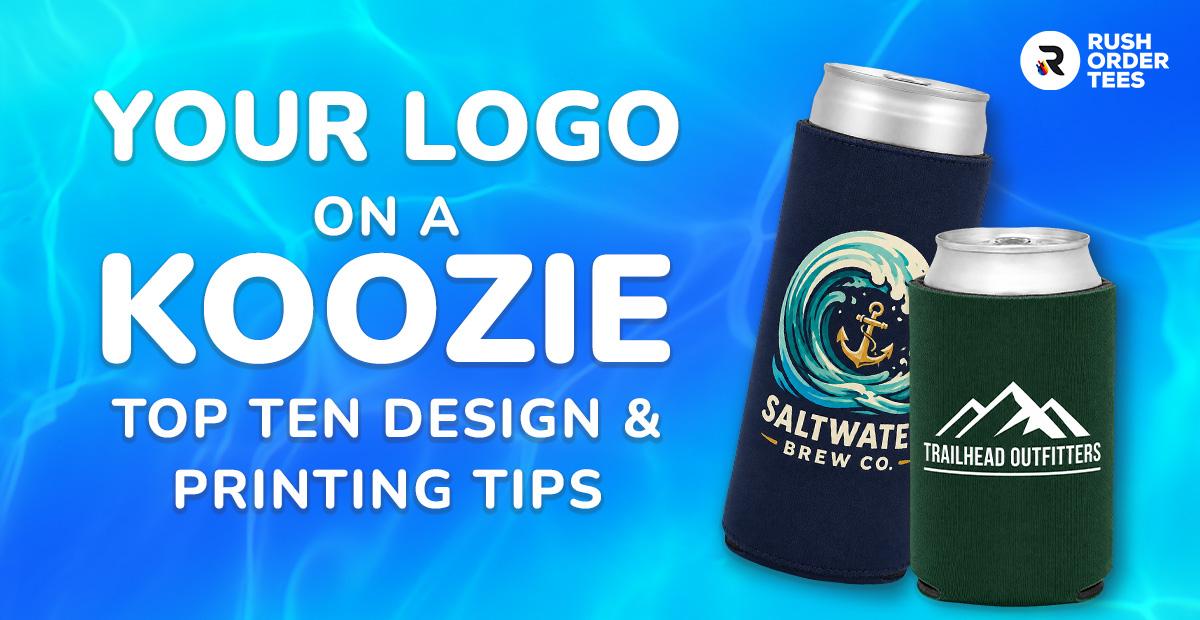
Custom koozies are one of the easiest promotional products to get right. They cost next to nothing, people hang on to them, and they put your logo in someone's hand every time they grab a drink. What decides whether yours looks sharp or muddy is the design and the print setup, and that's worth a few minutes before you upload your art.
The koozie is one of the smaller canvases in the catalog, curved surface and all. A design built for a t-shirt usually needs a tweak or two to work at koozie scale. These ten tips cover the choices that matter most, with an eye on the mistakes we catch most often before a koozie goes to press.
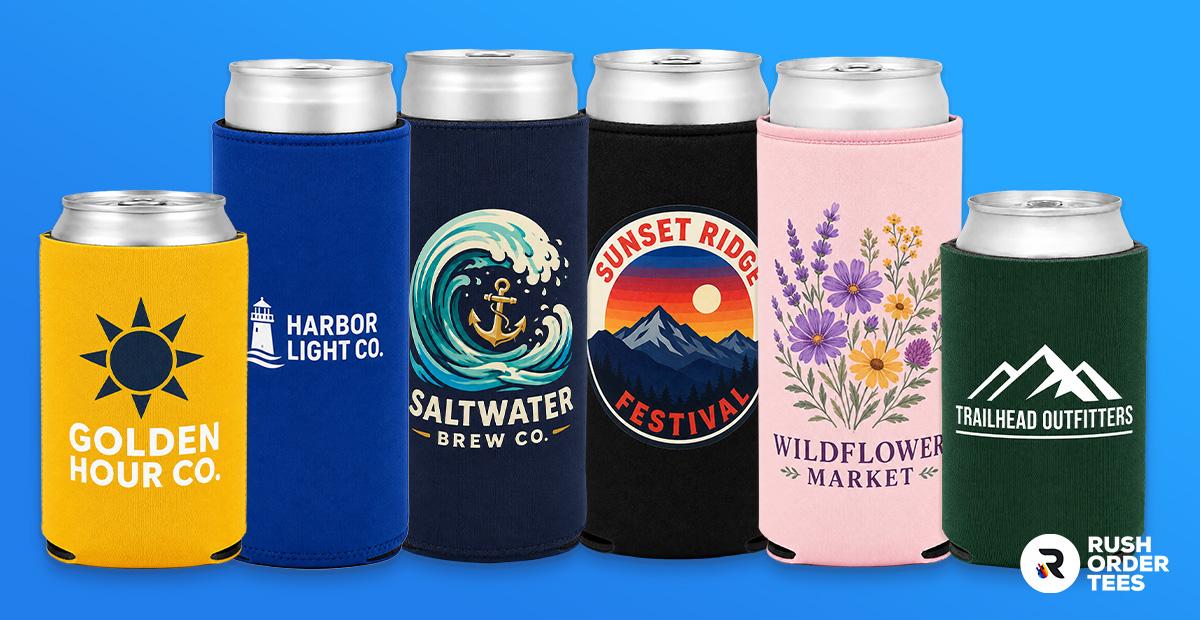
Top Design and Printing Tips for Custom Koozies
Most koozie problems trace back to a few predictable spots: too much detail, the wrong file type, a color that disappears against the koozie, art that prints inverted. Here are ten things worth getting right, in roughly the order they come up as you design.
1. Keep It Simple
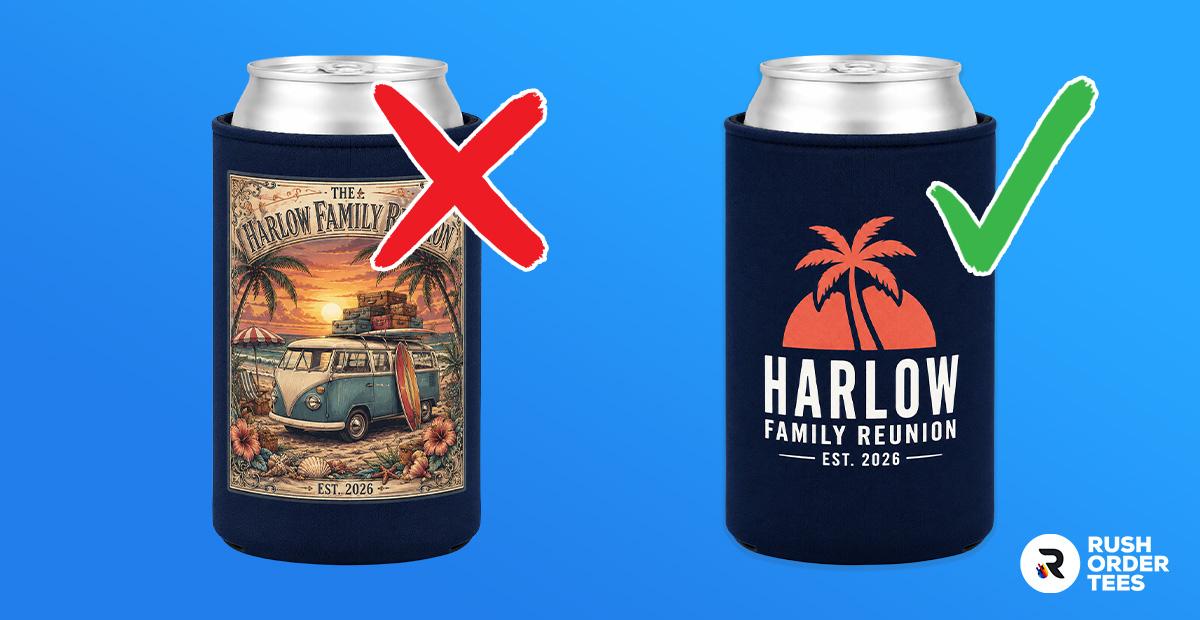
The standard imprint on a koozie runs about 3-1/4 inches wide by 2-3/4 inches tall, and a slim-can style like the 12 oz. Neoprene Slim Can Cooler gives you even less width to work with. A design that looks fine on a t-shirt can turn into a crowded smudge at that size. The test I use: if you can't read it from across the room, it's too busy.
Simplifying happens on two levels. First, the content. Drop the fine print and anything set in small type, and keep the parts that carry the message: the logo, your name, a city or tagline, a URL. Second, the artwork itself. If your brand runs a detailed logo or a graphic loaded with halftones and gradients, keep a stripped-down version on hand for jobs like this, with fewer colors and less fine detail. That simplified mark works for koozies, pens, embroidery, and anything else with a small footprint.
Pro tip: if your business name and your website are the same, you can usually skip printing the web address. Put "Joe's Tackle" on the koozie and anyone curious will type joestackle.com into Google on their own.
2. Send the Right File Type
Print quality starts with the file. Vector files (.ai, .eps, .pdf) are built from math, so the edges stay crisp whether the art prints at one inch or one foot. They're what you want for a clean koozie print. Raster files (.jpg, .png, .psd) are built from pixels, so a low-resolution version can come out soft or jagged. If raster is all you have, aim for 300 DPI at the size it'll actually print.
A logo that started life as a JPG often has to be redrawn as vector before it prints well, a process called tracing. A few apps will auto-trace with one click, and the results are hit or miss; even the clean ones usually need a designer's hand afterward. If you're not sure what you've got, upload it anyway. Our art team will tell you whether it'll hold up and handle basic conversions and tracings as part of the order.
3. Design for the Print Method
How you build the art depends on how it gets decorated, and the method usually follows the colors in your design.
Screen printing lays down one ink color at a time through a separate screen, so it shines on simple, one- or two-color logos and on larger runs. Its real edge is the ink. Screen printing can put down metallics, fluorescents, and exact Pantone (spot) matches. The digital methods work in four-color process, which covers a huge range of color and stops just short of those specialty inks.
DTF transfers print in full color and handles photographic detail and gradients with ease. This is the route for a logo with lots of colors or a full-color illustration. Even here, a very busy design can muddy up at koozie size, so simplify anything overly fine.
For full-bleed, edge-to-edge color, look at the Koozie britePix Can Cooler. These styles print full color all the way to the edges, which opens up backgrounds, patterns, and photo-quality art across the whole face.
And if you wander into metal: stainless steel coolers like the BruMate Hopsulator Slim get decorated by laser engraving, which etches your logo into the surface for a clean, monochrome look that holds up without scratching off. The imprint there is small and sits on one side, so keep that art simple too.

Koozie britePix Can Cooler
- +22 colors
Prints full color to every edge, so backgrounds, patterns, and photo art all work. 200 piece minimum.
Design now4. Resist the Urge to Max It Out
Most people instinctively size their art as big as the print area allows. Sometimes that's the right call; often a more modest print looks better. A logo with a little space around it reads cleaner than one jammed to the edges, especially for a simple mark.
A common print size lands in the 3- to 4-inch range, which fills a koozie nicely without crowding it. Bold giveaway designs can go big to grab attention, while a clean logo can sit smaller and still hold its own. If you want the extra real estate, a taller can cooler like the 24 oz. Taller RPET gives you more vertical room to play with.
One heads-up: the Design Studio's on-screen sizing gets you close, and for an exact fit our team will confirm the final dimensions before it prints. If you're trying to max out the print area, we’ll make sure that happens.
5. Choose Colors with Intent
Color is where a koozie sinks or swims. A few approaches that hold up:
- Run a koozie in your brand color with a white logo on top. Clean, on-brand, hard to mess up.
- Got a colorful logo? Drop it on a black or white koozie and let the logo's own colors do the talking.
- Picture the koozie in someone's hand. A muted or classic color often gets grabbed before the highlighter-orange one, depending on the crowd.
Something people overlook: even with full-color DTF, you don't have to use every color in your logo. Trimming the palette, with the koozie's own color factored in, often gives you a stronger, cleaner result, and you can test versions right in the Design Studio. A few colors working together usually beats a faithful reproduction that fights the background.
6. Understand When Art Needs Inverting
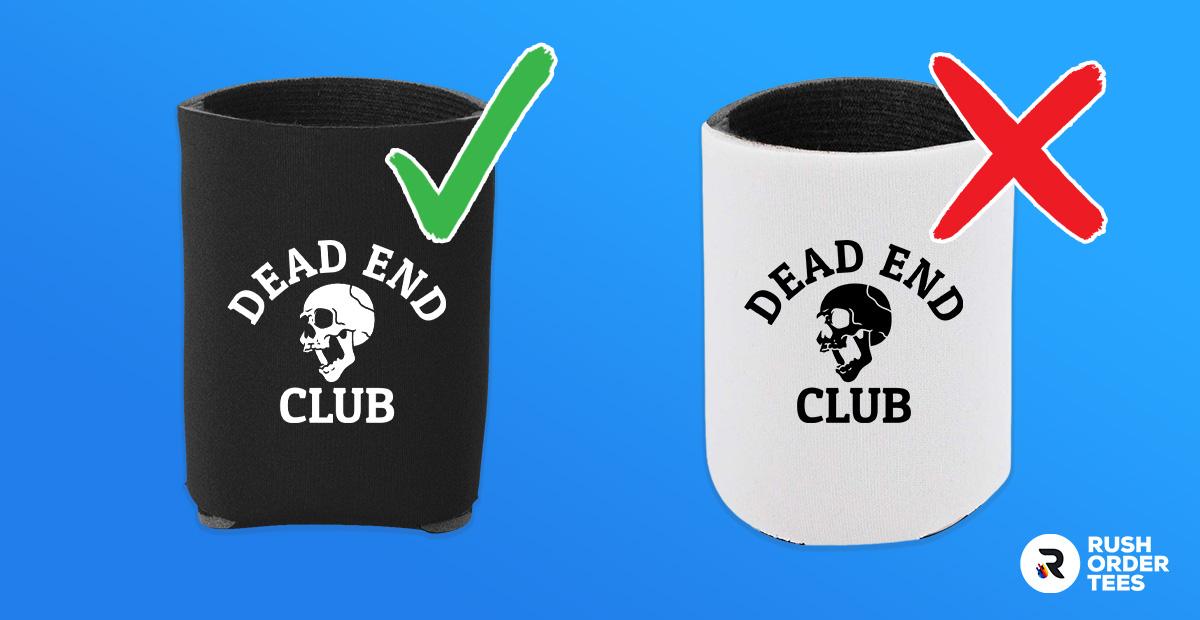
This is one of the most common mistakes we catch, and it's an easy one to make. Picture a one-color skull logo, the kind built to print black on white. On white paper, the black ink fills the outline, the eye sockets, the nose, and the gaps in the teeth, while the white paper shows through as the face. Your eye reads it instantly: white skull, dark details.
Now send that exact file to print in white ink on a black koozie. Everything that was black flips to white ink, and everything white, the face included, drops out to show the black koozie underneath. You get an inverted skull: white sockets and nose floating on a dark face. It stops reading as a skull.
Inverting the artwork fixes this by flipping which parts carry ink, so the elements that should be light print light and the ones that should be dark stay dark. Sometimes that means adding an outline around a shape so it holds together on a colored background; whether you need one comes down to the specific design. Anything that's "supposed" to be white or black is a candidate for looking wrong once it lands on a colored koozie, and this applies to far more designs than just skulls. The Design Studio has a basic invert option, and the product mockup shows you how the colors will actually sit, so you can catch it before you order. If it looks off, our art team will sort it out.
7. Use Contrast on Purpose
Contrast is what makes a koozie legible at a glance. On most colored koozies, white ink pops more than black; on light koozies like yellow or pastels, black ink reads stronger. Pay more attention to value (how light or dark a color is) than to hue. A mid-tone logo on a mid-tone koozie can wash out because the values sit too close together. Pair light with dark and the art separates cleanly.
Quick gut check: step back and look at the mockup from a few feet away, or shrink it down on your screen. If it still reads from there, you're in good shape.
Low contrast isn't always a problem, though. If you're after a faded, weathered, beachy, or deliberately understated look, muted contrast can be exactly right, and some brands use it to great effect. The point is to choose your contrast level on purpose. Decide how loud you want the koozie to be, then build the colors to match.
8. Use Both Sides
Most koozies give you two separate print areas, front and back, and they work independently. Use them. Put the logo on one side and something different on the other: a tagline, a secondary graphic, an event name, a date. Wedding favors do well with names and a date on the back; a business might run the logo up front and a website or slogan behind it. If visibility is all you care about, the same logo on both sides shows no matter how the can gets turned.
One thing to know: on standard koozies, the two sides stay separate. There's a seam, so a single graphic won't run continuously around the can. Plan it as two panels.
All-over printing is where it gets fun. On full-bleed styles, you've got the whole surface to design on, edges included. Run a graphic off the edge on purpose for a bold, cropped look, or fill the background with a pattern, a gradient, or a texture.
A bottle koozie or a zip-up like the Koozie Neoprene Zip-Up Bottle Cooler has its own imprint shape, so check the layout in the mockup before you lock in a wide design.
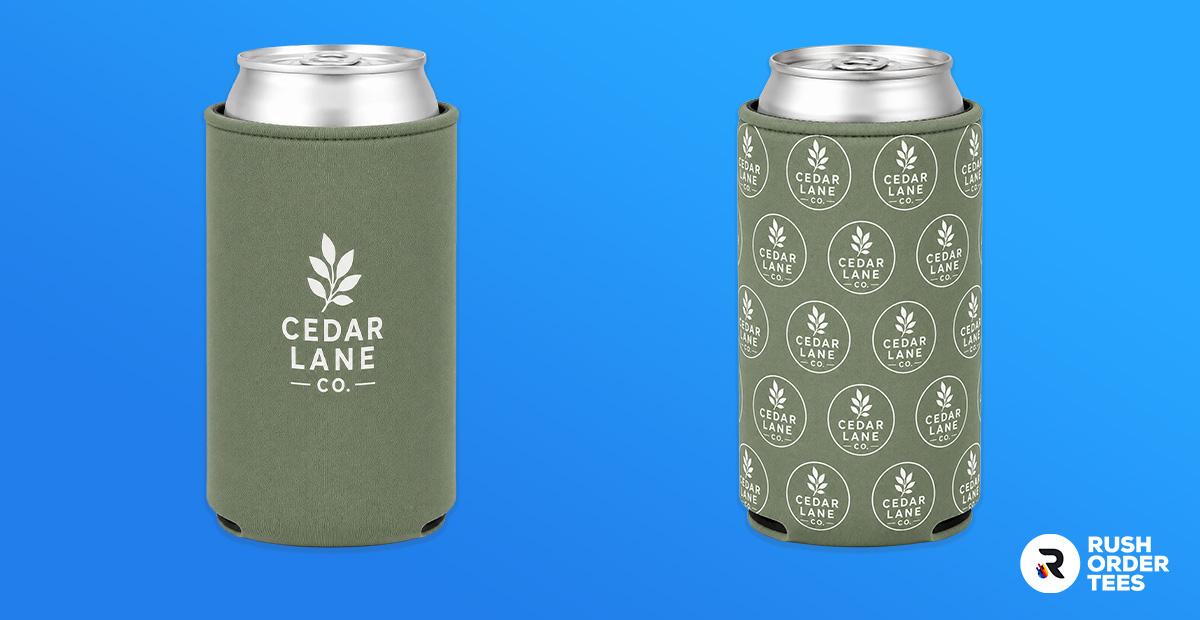
9. Match the Design to Who Gets It
Who ends up holding the koozie should steer every choice above. A giveaway tossed in a bin by the hundreds and a keepsake someone is meant to treasure and call for different design instincts.
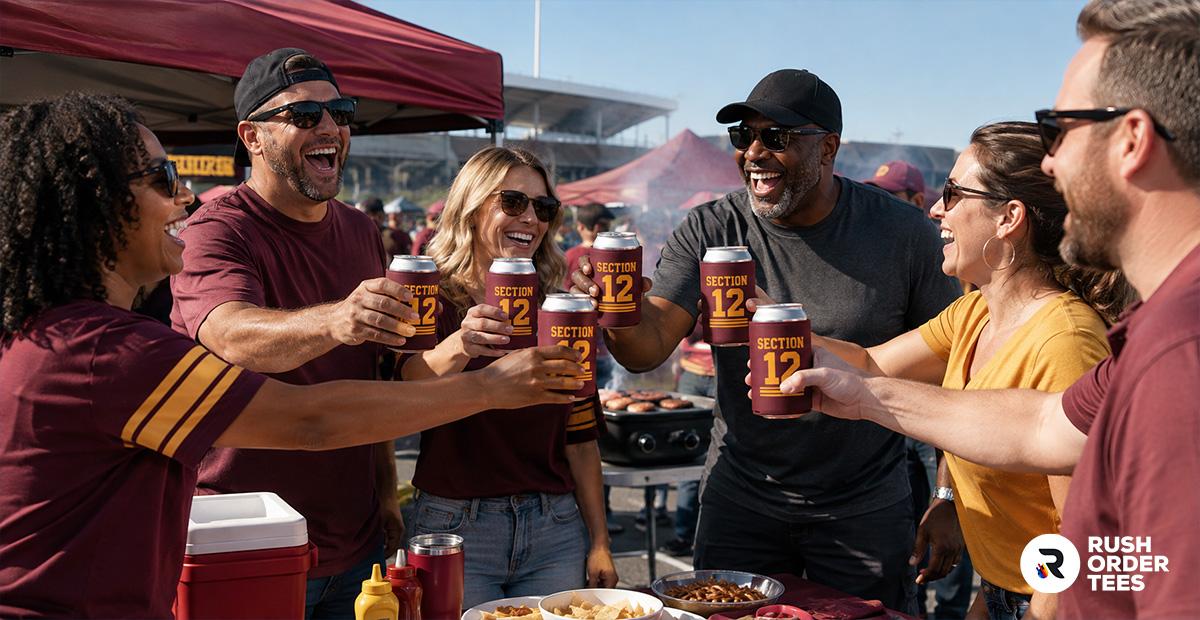
For high-volume foam koozies headed to a festival booth, a trade show table, a 5K, or a tailgate, you've got room to be loud. A big logo, a punchy slogan, or a genuinely funny line does its job here, and the low cost per piece makes a throwaway joke a fair trade. Nobody expects a $1 festival koozie to be understated.
For neoprene koozies working as wedding favors, client gifts, executive swag, or anniversary pieces, dial it back. A clean logo and a considered color palette read as something worth keeping. The gag that kills at a tailgate tends to feel out of place on a gift someone's expected to hold onto for years. I've seen plenty of orders where the design was solid but aimed at the wrong audience: a stiff corporate logo on a party koozie, or a punchline on what should've been a tasteful favor.
10. Know When to Bring in a Designer
If your koozies are part of a real branding push, need to line up with existing brand guidelines, or you just want them to look genuinely good, a professional designer is money well spent. Designers are easy to find and affordable on freelance sites, and what comes back is artwork that matches your vision and prints the way you pictured it. If your logo's been due for a refresh anyway, this is a natural time to do it.
A word on AI, since it's on everyone's mind: it's a useful tool, and we have AI art tools right in our Design Studio. It's great for brainstorming, exploring directions, and iterating fast. What it doesn't reliably do yet is hand you a clean, print-ready file. AI output tends to need a designer to finalize the artwork, correct the small stuff, and prep it properly for print. Use it for ideas; let a human finish the file.
For lighter needs, like cleaning up a file or tweaking a logo so it prints well on a koozie, our art team handles that as part of your order at no extra charge. After 25 years of this, my honest take: spend on design when the koozie matters, and lean on the free help when it doesn't.
Choosing Your Koozie Style
Every tip here works regardless of which koozie you pick; the material mostly changes the feel and the budget. Here's how the styles break down.
Foam can coolers are light, cheap, and the default for handing out in bulk. Best cost per piece, and they print in full color. See the Liberty Bags Foam Can Cooler and the Koozie Original Can Cooler.
Neoprene can coolers has weight and a premium feel that suits gifts and keepsakes. The Koozie Neoprene Can Cooler is the standard pick here.
Taller can coolers handle 24 oz. and 16 oz. tallboys and give you extra vertical print room. See the 24 oz. Taller RPET.
Bottle koozies fit longnecks and have their own imprint shape. See the Koozie Neoprene Zip-Up Bottle Cooler.
Worth knowing before you order: minimums vary by style, since these run through different promo suppliers. Most branded foam and neoprene Koozie styles carry a 200-piece minimum, a couple sit around 100 to 125, and the Liberty Bags Foam Can Cooler has no minimum at all if you need an exact count or want to test a small first run.
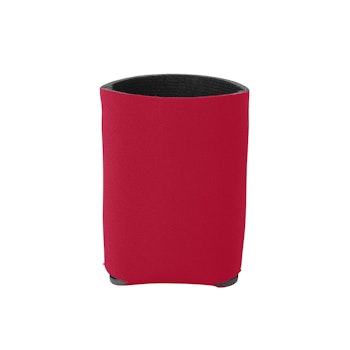
Liberty Bags Foam Can Cooler
- +7 colors
Design a custom Liberty Bags Foam Can Cooler with our easy-to-use Design Studio. Personalize your koozie with a logo or artwork. Ships free and fast.
4 reviews
For the full comparison of the two materials on insulation, durability, cost, and feel, see our guide to neoprene koozies vs. foam koozies.
Make the Koozie as Cool as the Drink
Good koozie design is mostly restraint: keep it simple, give it contrast, send a clean file, and aim the look at whoever's holding it. Do that, and your logo reads from across the room, which is the whole job of a logo on a drink in someone's hand. The mistakes are common and easy, and nearly all of them get caught before printing if you preview the mockup and take a second to think about scale and contrast.
When you're ready to print, RushOrderTees runs every koozie style in full color and ships every order free. Standard turnaround is 9 to 12 business days, with rush delivery as fast as 2 days on select products, so a fixed event date is easy to plan around. A real person reviews every design before it goes to press, which is how those inversion and contrast issues get caught while there's still time to adjust them, backed by a 99.7% satisfaction rate across more than a million orders.
The free Design Studio lets you upload a logo, preview it on the actual koozie, and try colors and placement before you commit. When your art's ready, start your custom koozie design and see how it looks.

About the Author
A graduate of the Multimedia program at the University of the Arts in Philadelphia, Imri Merritt is an industry veteran with over 20 years of graphic design and color separations experience in the screen printing industry.