
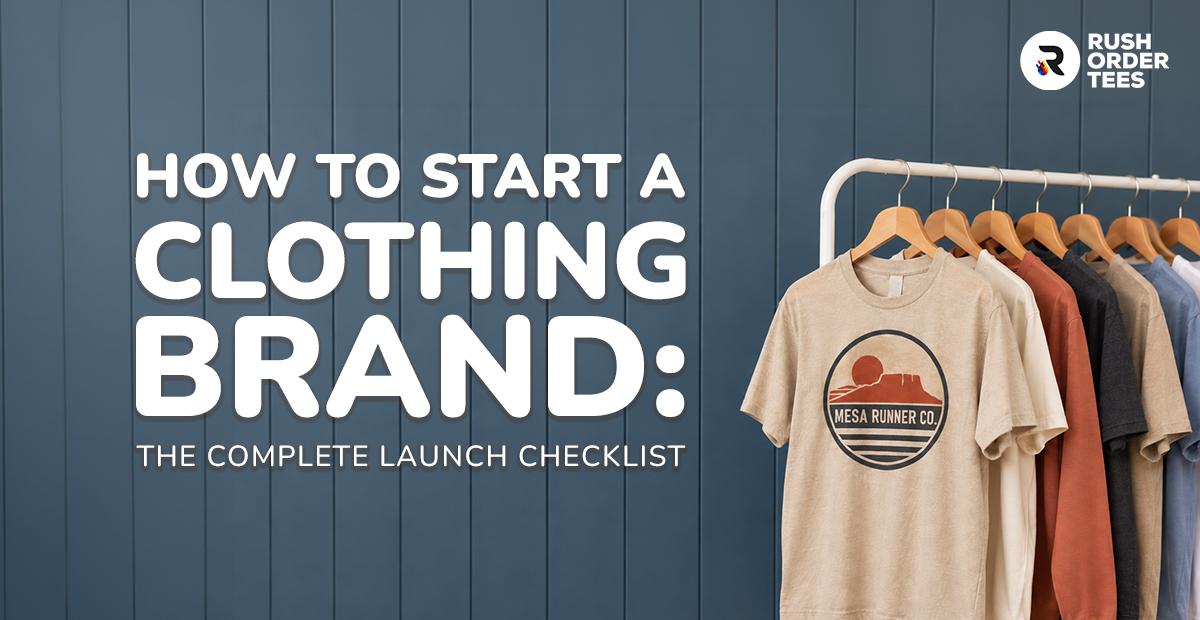
You probably already have a piece of this figured out. A design saved on your phone, a brand name you keep circling back to, a logo a friend sketched, or a clear picture of the soft hoodie you want to put it on. That's a real starting point, and it's more than most people have when they sit down to learn how to start a clothing brand.
The rest is a set of decisions: what you make, how your design gets onto the garment, where you sell, and how people find you. None of them have to happen in a strict order, and none of them require ordering five hundred shirts up front. You can begin with a single test piece, a small run, or a full production order, depending on where you are and what you're after. This guide walks through each decision with the apparel and print specifics that general startup advice tends to skip.
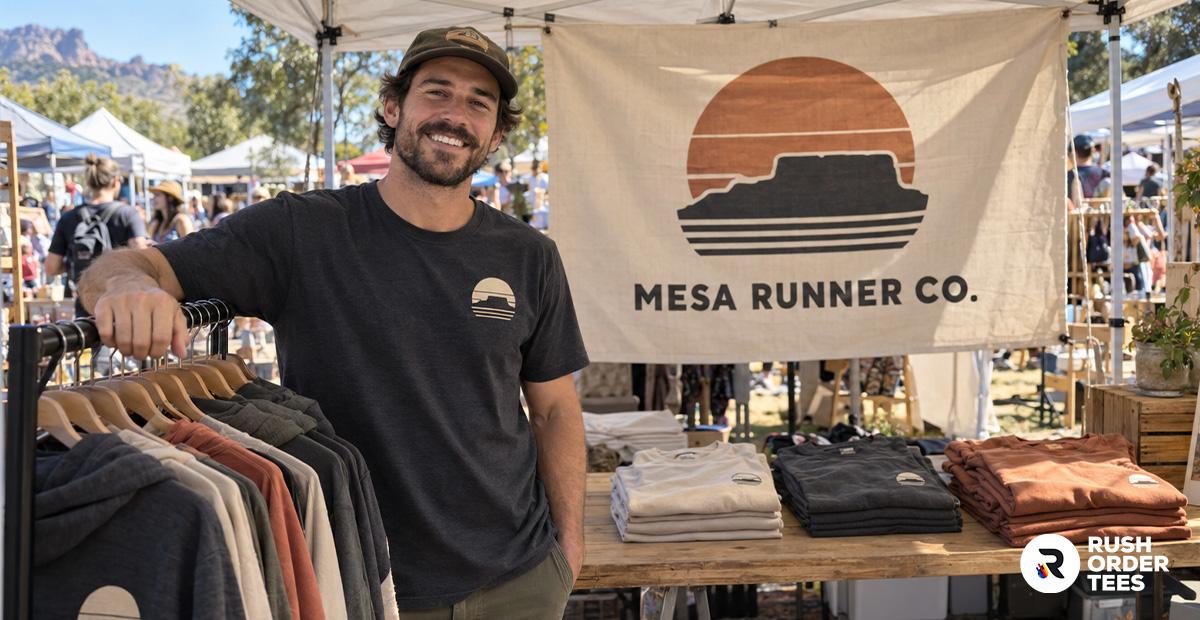
The Clothing Brand Checklist
Everything that goes into making your own clothing brand comes down to a handful of decisions. Depending on how you got here, you might already have two or three of them done. Work through the rest in whatever order fits how you started.
- Know your niche and the people you're designing for
- Shape your brand identity: name, logo, colors
- Decide what you're making and which garments carry your line
- Choose a decoration method that fits your design and budget
- Order samples and test your prints before you scale
- Pick where you'll sell
- Put a digital marketing plan in place
- Launch, listen, and reorder what works
The sections below go deeper on the decisions where the details actually change your results, starting with who the brand is for.
Know Your Niche and Audience
A clothing brand works when it's clearly for someone. The tighter you define that someone, the easier every later decision gets: which garments you pick, how you price, and how you talk about the brand. A broad idea like "cool t-shirts" competes with everyone. A brand for trail runners in the Southwest, or for a local hardcore scene, or for nurses with a dark sense of humor, has a reason to exist.
Your niche also answers what you put your designs on. A streetwear label leans toward heavyweight tees and hoodies with a boxy fit. A brand aimed at golf outings and office teams leans toward polos. Once you know who you're for, the name and the look have something to point at.
Shape Your Brand Identity
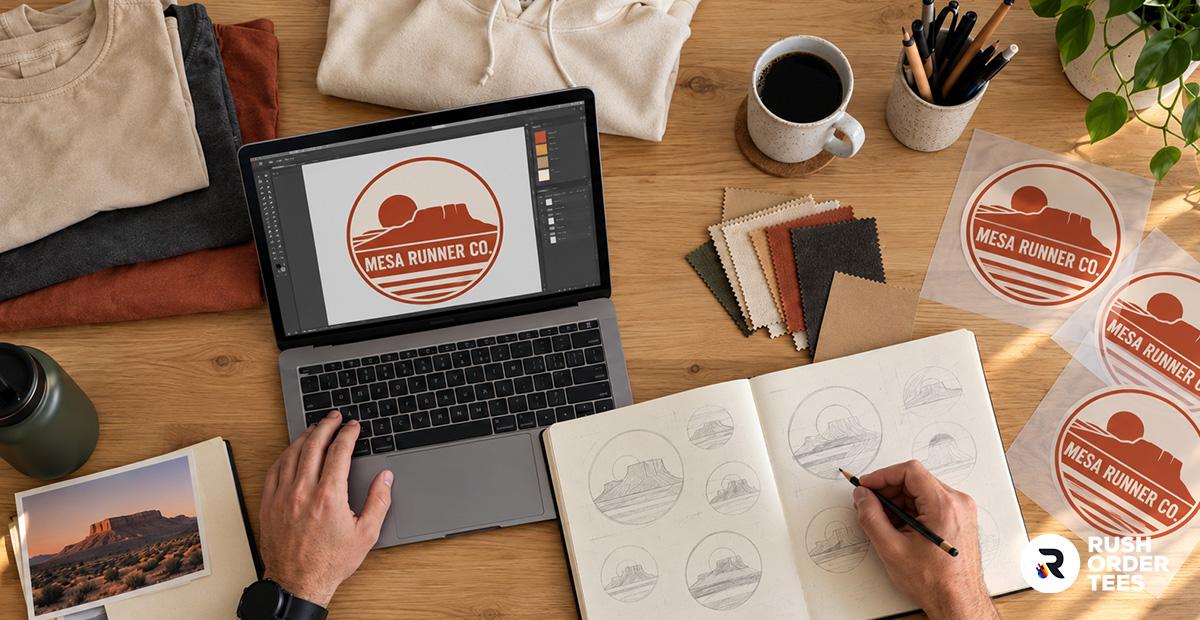
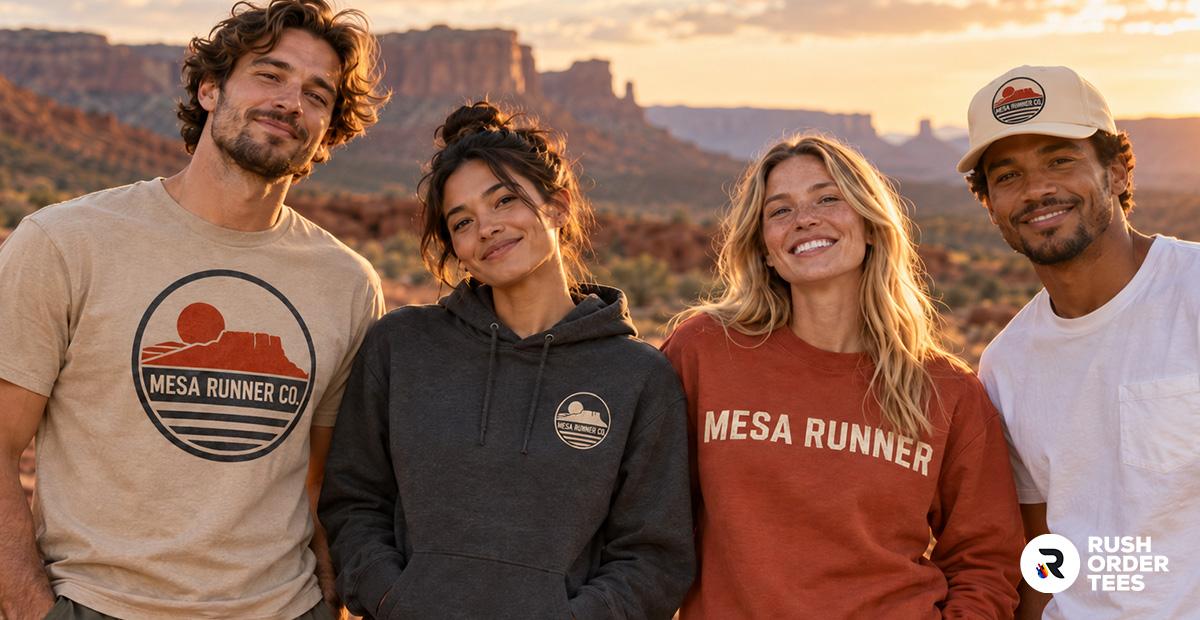
Your brand identity is the name, the logo, the colors, and the consistent feel that runs across your shirts, your store, and your social posts. It doesn't take a studio. It takes a name you can actually use, a logo that reads at small sizes, and a couple of colors you stick with.
Two practical notes. First, check that your name is free before you commit: search it, check domain availability, and look it up in the trademark database so you're not renaming everything six months in. Second, get your artwork print-ready early. A logo with thin lines or a low-resolution file can look fine on screen and break down on fabric. You can build or clean up a design in the free Design Studio and see it on an actual product before you order. With a name and a look in hand, the next call is what you're putting them on.
Decide What You're Making: Your Product Line
Your product line is the set of garments that carry your brand. Most first collections start with one or two pieces and grow from there. A t-shirt is the usual anchor, since it's inexpensive and works as a blank canvas for almost any design. From there, hoodies and sweatshirts give you a higher price point, hats add an easy accessory, and jackets or polos suit brands going for a cleaner, more premium look.
This is the part to slow down on. The blank you choose decides how the finished piece feels, and customers notice. A budget promo tee and a tri-blend wear nothing alike. Pay attention to fabric weight, fit, and the specific colors you'll offer, and keep your color range tight at the start so you're not guessing on inventory. Spend time in the full catalog comparing blank brands like Bella+Canvas, Next Level, Comfort Colors, and Gildan before you settle. Once you know the garment, the question becomes how your design actually gets onto it.
Decoration Methods: How Your Design Gets on the Garment
This is where the custom-apparel details matter most. The method you choose changes how your design looks, how long it lasts, what it costs, and how few pieces you can order. Here's how the main options compare and when each one fits.
Screen printing
Screen printing pushes ink through a stencil, one screen per color. It gives you bold, saturated color that holds up for the life of the shirt, and the per-piece price drops sharply as the quantity climbs. The setup cost per color is why it shines on larger runs of simpler designs and gets expensive on small orders with lots of colors. If you're printing a hundred tees with a two-color logo, this is usually your most cost-effective and durable option. RushOrderTees handles screen printing in-house.
DTF transfers (direct-to-film)
DTF prints your design onto a film, then heat-presses it onto the garment. It handles unlimited colors and fine photographic detail in a single pass with no per-color setup, so it stays affordable at the low quantities where screen printing doesn't pencil out. It also bonds to cotton, polyester, blends, and performance fabrics, which keeps it flexible across a varied product line. The print is durable and holds color through repeated washes. DTF transfers are a strong default for detailed art and small runs.
DTG (direct-to-garment)
DTG prints ink directly into the fabric with what amounts to a specialized inkjet. It reproduces complex, full-color art with a soft feel and no setup fees, which is why most third-party print-on-demand platforms use it to fulfill one-off orders. The trade-offs: it works best on high-cotton garments, color can be less consistent, and prints tend to fade faster than screen printing or DTF over many washes. If you sell through a POD marketplace, this is most likely what's printing your shirts, so order a sample and see how it holds up.
Embroidery
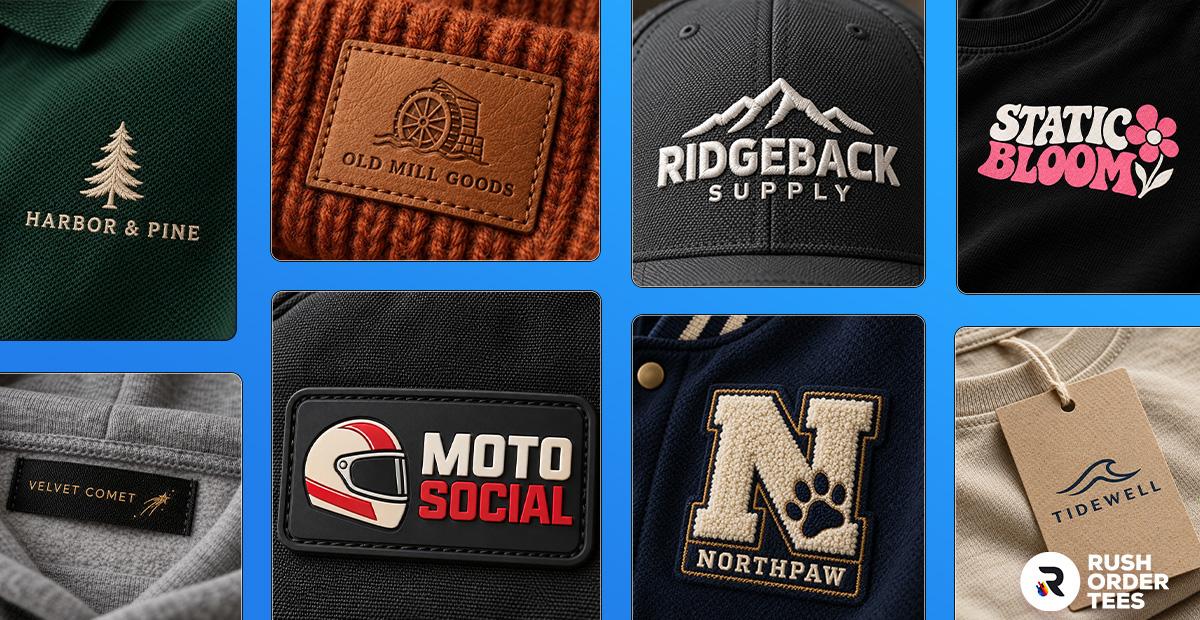
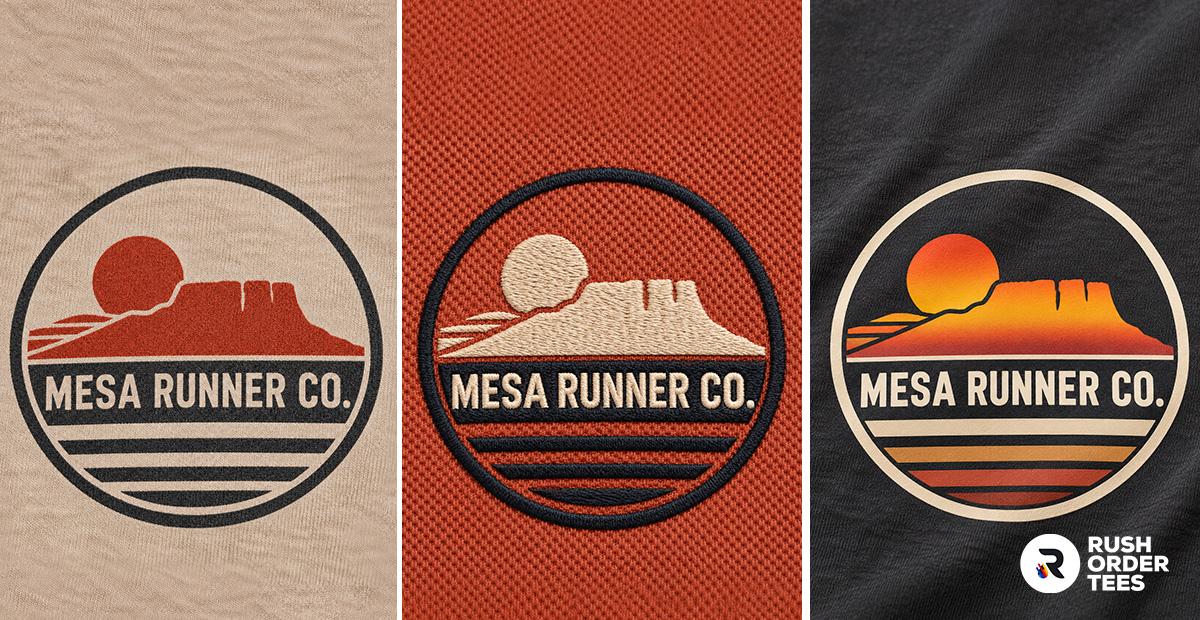
Embroidery stitches your design into the garment with thread, giving it a raised, textured feel that reads as premium. It's the standard for logos on polos, hats, and jackets, and it outlasts almost any print. It suits simpler, logo-style artwork more than dense illustration, and it carries a small minimum (six pieces at RushOrderTees) since each design has to be digitized first. For corporate-leaning brands and anything meant to read as upscale, embroidery is worth the cost.
Patches
Patches open up a different kind of merch. A custom patch can be embroidered, printed in full color, or made in PVC, leather, or chenille, then heat-pressed onto hats, jackets, bags, and beanies. They let you decorate items that are awkward to print on directly, and they give a brand a collectible touch you can sell on its own or add to a garment. Minimums are low, often around ten pieces, so they fit a first run. Ninja Patches makes custom patches in every common style with no setup fees. Reading about these methods only gets you so far, though. The way you really learn which one suits your design is to hold the printed piece in your hand.
Test Before You Commit
This is the step that turns a good-looking mock-up into a brand people actually wear. Unless you're truly out of time, order samples and run as many test prints as your budget allows. Print your design on the exact blank you plan to sell. Wash it a few times. Wear it. See how the color sits on that fabric, how the print feels, and how the fit runs.
Going through that back-and-forth teaches you things a product page can't. After more than two decades in custom printing, I've watched the founders who build real brands do this almost without exception. They want to see the print and wear the garment before they put it in front of a customer. A sample run also catches the small problems while they're still cheap, like a logo that's a touch too small or a color that disappears on a dark shirt.
Because RushOrderTees has no minimums on printed apparel, you can order a single piece to test a design, then scale the ones that work. If you're selling purely through a print-on-demand marketplace, hands-on testing matters less, though it still pays to order a sample and to be deliberate about the styles, fabrics, and colors you put your name on. Once you know what you're making and how it's decorated, you need somewhere to sell it.
Choose Where You'll Sell
There are a few ways to get your clothing in front of buyers, and most brands end up combining them.
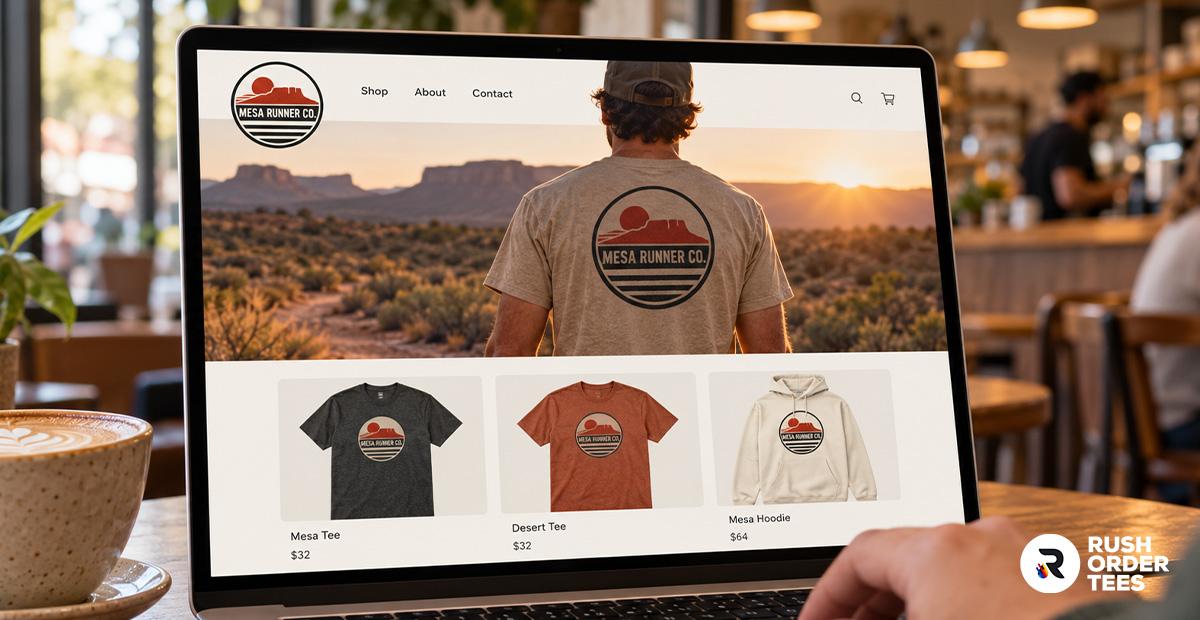
- Your own online store gives you full control over brand, pricing, and the customer relationship. Shopify, Squarespace, and WooCommerce are the common picks, and this is home base for most serious clothing brands.
- Online marketplaces like Etsy and Amazon bring their own traffic, which helps early on, in exchange for fees and a more crowded shelf.
- Selling in person through pop-ups, local markets, and wholesale to boutiques puts product in people's hands and gets you direct feedback fast.
- Print-on-demand lets you test an idea with almost no upfront cost. A POD store prints and ships each item only after it sells, so you carry no inventory. NinjaPOD plugs into Shopify, handles the printing and white-label shipping, and starts free. Most POD runs on DTG, so order a sample to check quality.
- Pressing it yourself keeps production and margins in your hands. Order DTF transfers from Ninja Transfers and heat-press them onto blanks at home as orders come in, for a low-cost small operation with full quality control.
Wherever you sell, people still have to find you.
Build Your Digital Marketing Plan
A storefront needs an audience, so decide how people will discover you before you launch, even if the plan is simple.
At minimum, claim your social handles and post on a consistent schedule, and build a website you actually control. Start collecting emails from day one, too, so you have a direct line to customers that no platform can take away. From there, pick your channels deliberately. Organic search rewards brands that publish useful content and rank for the terms their buyers type into Google. Paid ads on Meta and Google put you in front of a targeted audience quickly, on a budget you control and adjust over time. If you sell on Shopify or Amazon, lean on their built-in marketing tools and analytics while you learn what converts.
You don't need all of it on launch day. You do need a plan for how the first hundred people will hear about you, and a habit of doubling down on whatever channel actually brings in sales. All of this runs on a budget, so it helps to know what starting really costs.
What It Costs to Start
You can start a clothing brand for a few hundred dollars or scale it into the thousands, depending on the path you choose.
The lean version: a free Design Studio for artwork, a handful of sample pieces, a free or low-cost POD store, and a small ad budget. You can validate a design for the price of a few shirts. The bulk version: a large screen-printed run of blanks, a built-out website, professional photography, and a real marketing spend. That's where the numbers climb.
Your decoration method and quantity drive the per-unit math. Screen printing gets cheaper per piece the more you order, which rewards bulk. DTF and no-minimum orders cost more per piece while letting you skip inventory risk entirely. For most people starting out, ordering a small test batch with no minimum keeps the upfront cost low and the risk lower. Knowing the costs also helps you sidestep the mistakes that quietly drain a new brand's budget.
Common Mistakes to Avoid
A few patterns show up again and again with new clothing brands. Each one has a simple fix.
- Ordering a big batch before anyone has bought a thing. Test the design with a small run first, then scale what sells.
- Skipping samples. Order one, wash it, wear it, and approve the real thing before you commit.
- Picking the wrong decoration method for the design. Match the method to your art and quantity: screen printing for bold designs at volume, DTF for detailed art at low numbers.
- Printing on cheap blanks. The garment is half the product, and a weak blank undercuts a great design.
- Pricing too low to survive. Build in margin for ads, returns, and fees, beyond the bare cost of the shirt.
- Treating the logo as the whole brand. The name and mark are a start. What makes it stick is the audience you serve and the consistency you hold to.
If you're still weighing a few specifics, these are the questions that come up most.
Frequently Asked Questions
How much does it cost to start a clothing brand?
Less than most people expect. A lean launch using a free design tool, a few samples, and a print-on-demand or no-minimum store can run a few hundred dollars. A bulk-printed run with a built-out website and ad budget climbs into the thousands. Your decoration method and order size drive most of the cost.
How do I start a clothing brand online?
Pick a niche, build your brand identity, and choose a few garments to start. Set up a store on a platform like Shopify, or list through a print-on-demand service that prints and ships for you. Add your designs, set pricing with healthy margins, and drive traffic through social media, email, and ads.
Do I need to hold inventory to start a clothing brand?
No. With print-on-demand, each item is printed and shipped only after a customer orders, so you carry no stock. With no-minimum printing, you can order a single piece to test a design before scaling up. Bulk inventory is optional, and you commit to it only when you're ready.
What is the best way to print my designs?
It depends on your design and quantity. Screen printing gives the best value and durability for bold designs in larger runs. DTF transfers handle detailed, full-color art at low quantities on almost any fabric. Embroidery suits logos on polos and hats. Order samples to compare before you decide.
Can I start a clothing brand with no money or experience?
Close to it. Free design tools and a no-cost print-on-demand store let you launch without buying inventory or equipment. Experience helps, and you build it fastest by ordering samples, testing designs with real buyers, and adjusting from there. Start small, learn from each order, and grow what works.
Start Your Brand with RushOrderTees
However you got here, with a finished design or just a name you like, the next move is small and low-risk. You can put one piece in your hands before you put it in a store.
That's the part RushOrderTees is built for. There are no minimums on printed apparel, so you can order a single shirt to test a design or a full run to stock a launch, at the same quality either way. Our free Design Studio gets your artwork print-ready, and a real art team reviews every order before it prints, so a first-time founder isn't left guessing whether a file will hold up. Screen printing, DTF, and embroidery are all in-house, which means one partner can grow with you from your first test piece to your hundredth reorder.
Start your first design in the Design Studio, or order a small test run and see your idea on an actual garment. Your closet has worn enough plain shirts. Time to make one that's yours.

About the Author
A graduate of the Multimedia program at the University of the Arts in Philadelphia, Imri Merritt is an industry veteran with over 20 years of graphic design and color separations experience in the screen printing industry.