
Help Center
Clipart Options
Use our library of clipart to create a personalized and eye-catching design.
We’ve assembled a list of our clipart options, as well as some tips & tricks for use with them.
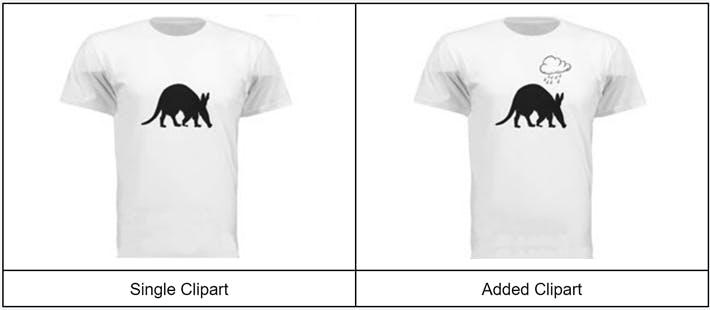
Multiple Images
Multiple pieces of clipart can be added to create a unique design.
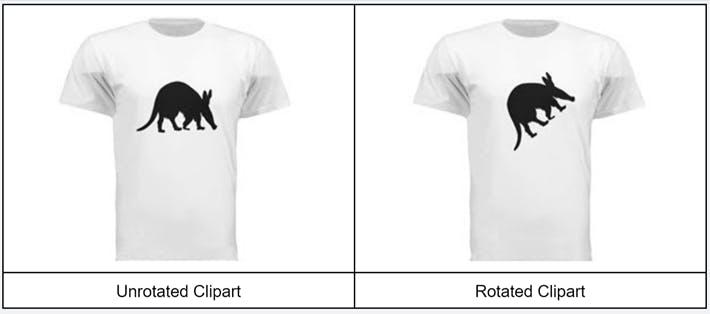
Rotate
Clipart elements can be rotated to seamlessly fit your design.
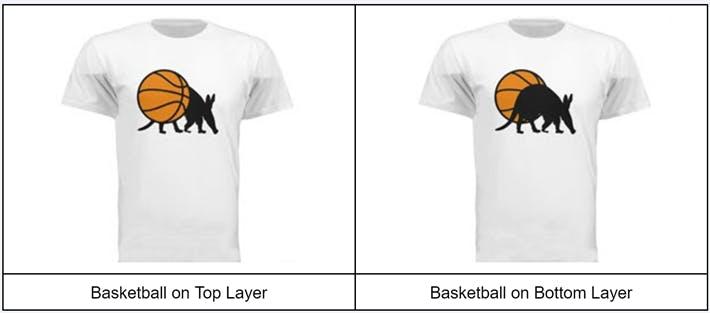
Layering
Designs with multiple pieces can be layered to emphasize the desired elements.
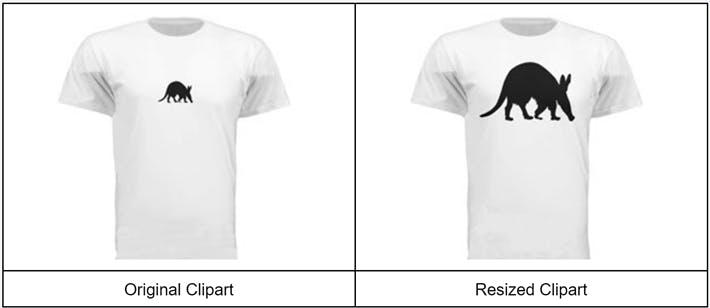
Resizing
The sizing of elements can be adjusted to make design composition easy.
Color
Applying color to clipart can transform a lackluster design into something much more eye-catching.

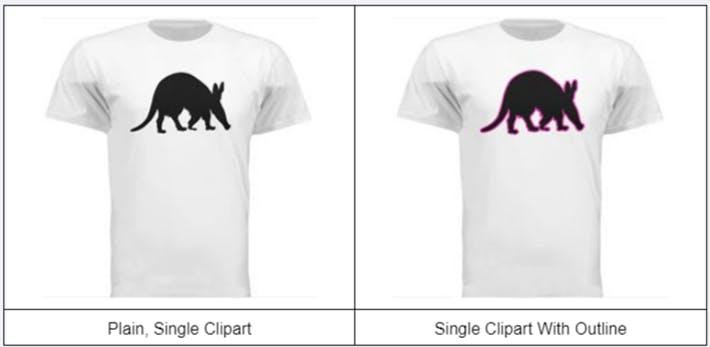
Outline
Applying a colorful outline to clipart can add a unique design element.
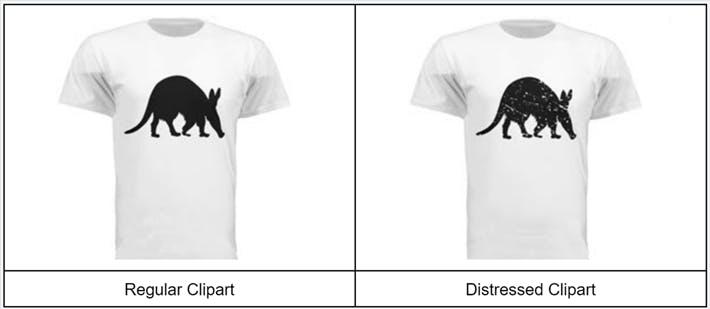
Distress
Applying a weathered treatment can add an interesting visual effect to an otherwise basic piece of clipart.
Clipart Tips
Selecting and arranging clipart can feel deceptively easy, but there are some fundamental tips you can use to improve the design of your t-shirt, hoodie, or other pieces of apparel.
Keep It Simple
Simplicity is an important component of good apparel design. Most designers make the mistake of adding too many clipart, text, and color elements that result in blurring the primary purpose of the design.
We recommend using one main image or idea and removing anything that competes with it.
Consider Placement
When placing clipart, consider how it will interact with the elements of the garment.
Some general clipart placement guidelines include:
- Front Designs: 2”- 4” from the collar
- Seams: At least 1” spacing
- Back Hoodie Designs: 6” from collar to avoid the hood
Want more guidance on placement? Check out our Logo Placement Guide.
Balance Shirt and Print Color
Select shirt and print colors that have adequate contrast to ensure design visibility. This includes avoiding the use of colors in the same color family.
Manage Size & Scale
Using oversized clipart in a design is a common mistake; more modestly-sized elements will produce a better result. Although our Design Studio offers guidance with a set of guides, we still recommend staying 1” - 2” inside the bounding box for best results.
Interested in more information on managing size & scale? Check out our blog post on T-Shirt Design Tips for Better Results