
Part of what makes Rush Order Tees different from other screen printing companies is that we’re not just about the bottom dollar. We put a lot of time and effort into ensuring the best possible buying experience for our customers.
And that’s why we’re proud to introduce our new DIY Series, where we’ll show you tips and tricks of the trade that’ll make the process of turning your great design ideas into real-life products a whole lot easier.
This week’s blog is brought to you by our very own Tom Ingling. Tom is a supervisor in our graphic design department, and oversees all of the design elements on our websites, in our design studio, and on our customers’ products.
One of the most common questions our design department receives is about the removal of backgrounds from images. Luckily, Tom is here to help:
There are already hundreds of tutorials our there that tackle image background removal, but this one is a little different, in that I want to show you how to use a web image editor named Pixlr. You don’t need to purchase any software or install anything. Anyone can use it, right now, for free.
To follow along with the tutorial, first, you’ll need to round up some images. I’m using this one, and this one. And, optionally, this one:
Go to https://pixlr.com/editor/
Click “Open Image from URL” and paste in:
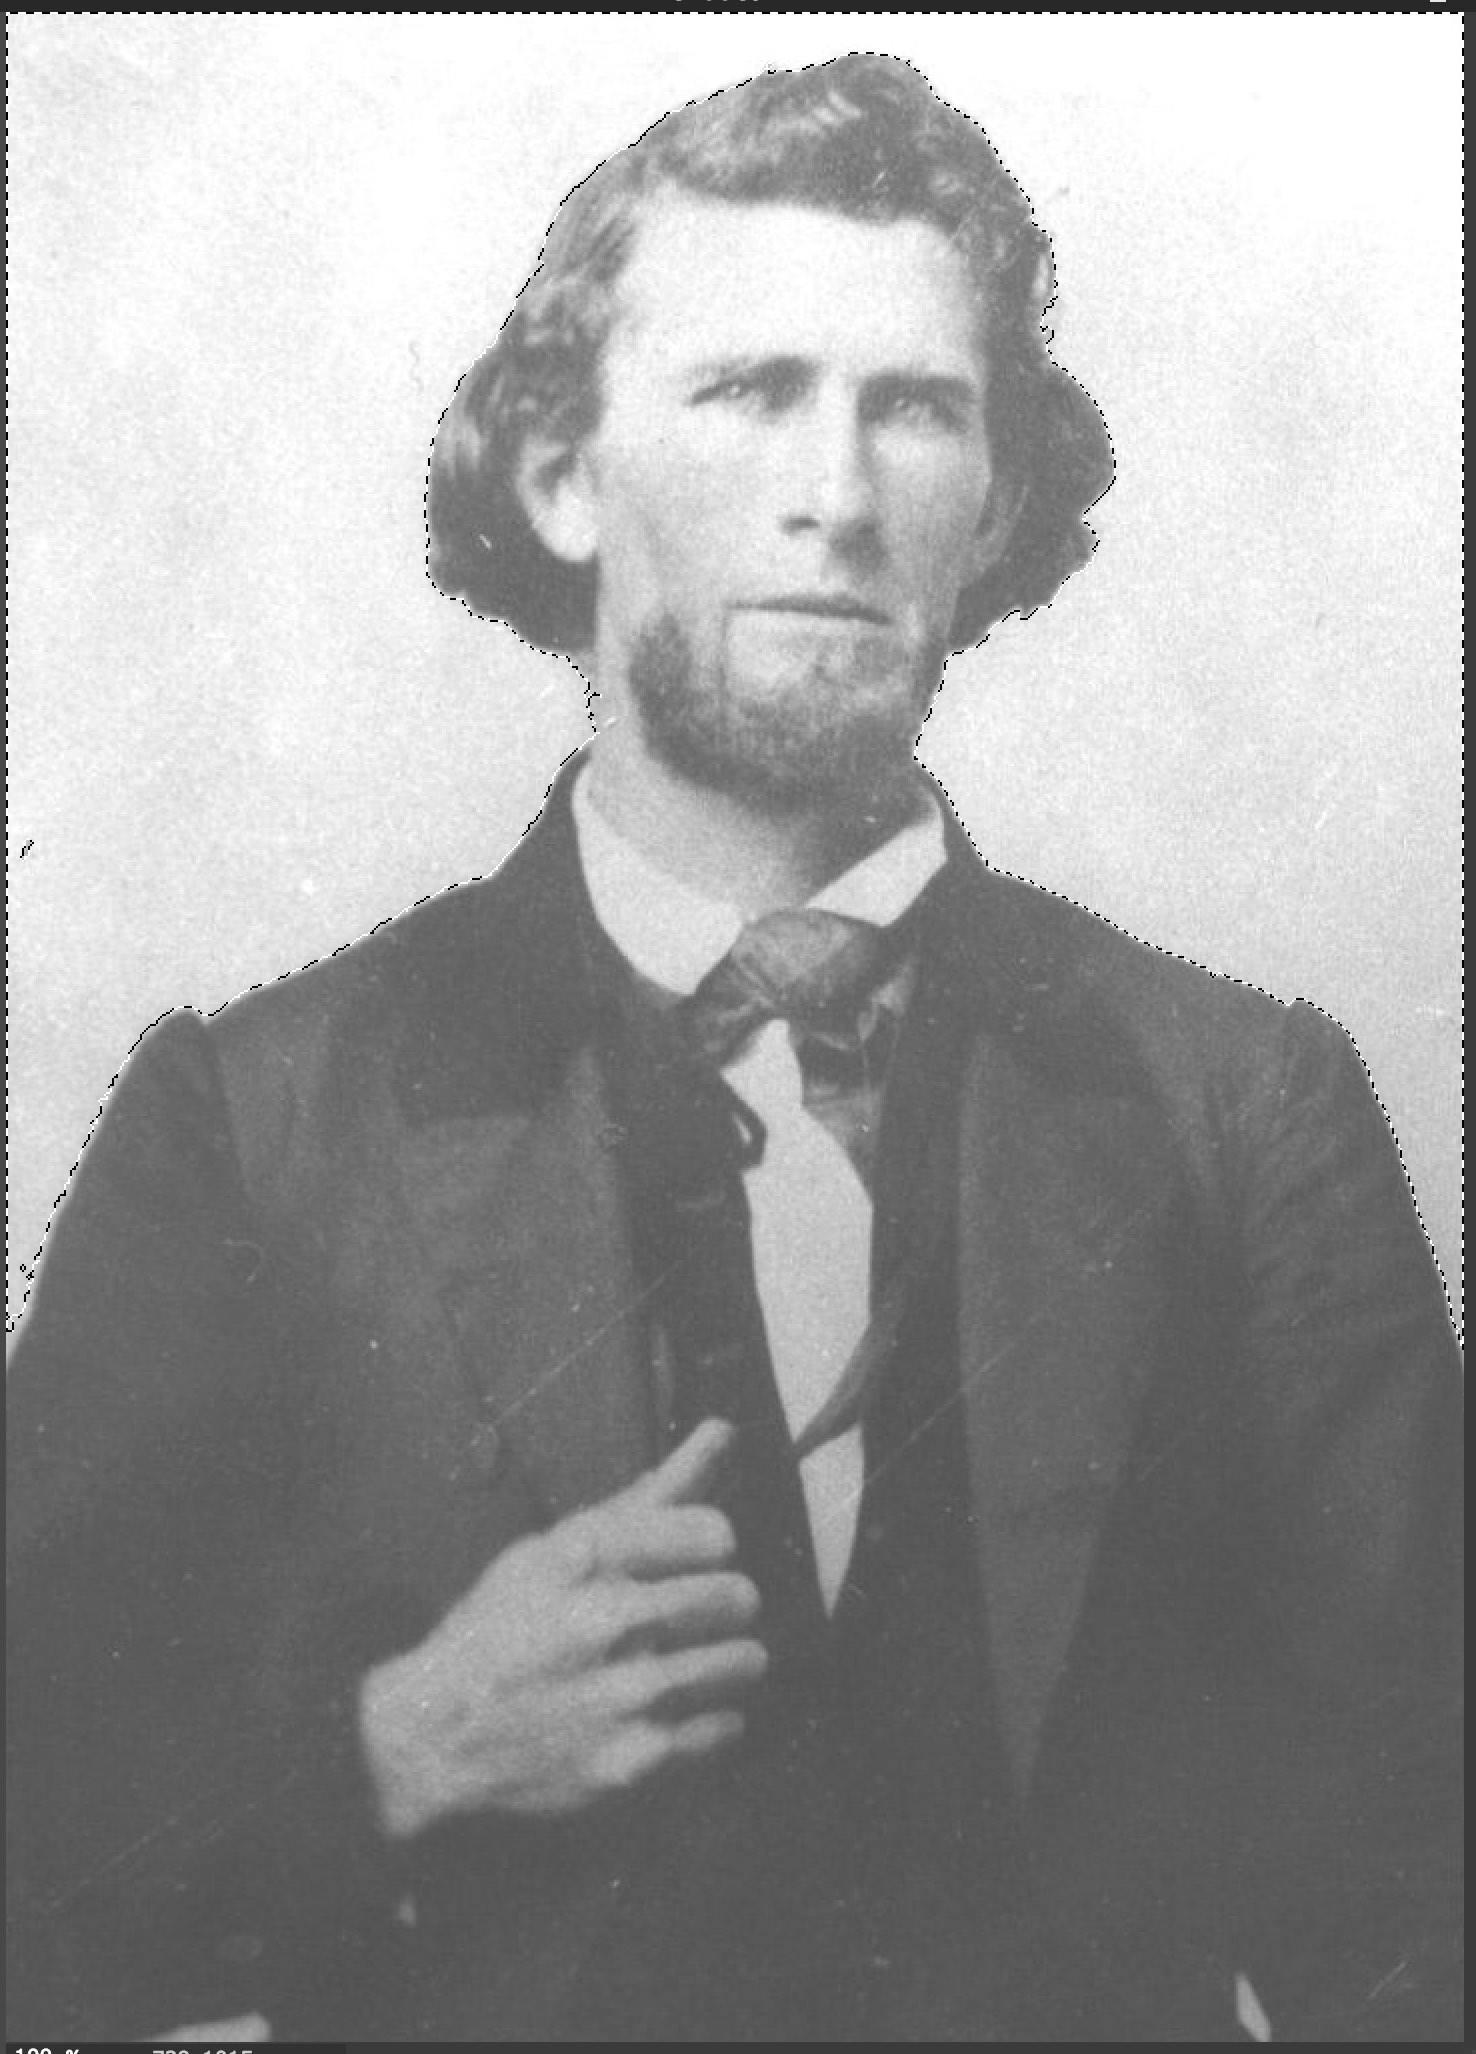
“https://upload.wikimedia.org/wikipedia/commons/0/0b/JFCrabtree31.jpg”
If you’re designing a t-shirt, you probably want to remove a background for one of two reasons:
- Because you have art that’s inside a colored rectangle that you don’t want to have printed on your shirts, or
- Because you want to cut out an object from one image to place it into another image.
We’re going with the second situation, but it works the same either way.
We’re going to pretend this photo of your Great Uncle, JF Crabtree, just doesn’t express the rockin’ party guy you remember him as. It’s time to spruce up his image from this old picture.
Pixlr supports a good set of keyboard shortcuts to help you work faster. Throughout this tutorial, the keyboard shortcuts will be shown inside [brackets], if you want to use them.
Whenever a keyboard shortcut says “[CONTROL],” if you are on a Mac, it use the “Command” key instead.
The Wand Tool

We’re going to start creating our selection with the wand tool [W].
The wand tool, located toward the top of the toolbar, has some interesting and useful options when it is active: Tolerance, Anti-Alias, and Contiguous.
Tolerance sets how sensitive the wand tool is to changes in color — the lower the setting, the less it will select; the higher the setting, the more it will select. Having Anti-Alias turned on will make the edges of the selection look smoother. When “Contiguous” is on, the wand will only select regions of similar color connected to where you click. When it’s off, it will select areas similar to the color you click from anywhere in the image.
Set the wand to a tolerance of 20, with both “Anti-Alias” and “Contiguous” checked.
Next, click on the white background in the top right. Your selection should look something like this:

That’s not quite what we want, but it’s a good start.
Hold down the [SHIFT] key on your keyboard. You’ll see a little “+” sign appear by your wand-shaped cursor. Still holding down the [SHIFT] key, move the cursor down a little and click on a light grey part of the background.

This picture shows where I clicked, and the resulting selection. We’re getting close!
Clicking a little further down with [SHIFT] held again, I got almost all the background, but now part of his face got selected, too! That’s no good.

Choose “Undo” (Edit menu -> Undo, or [control+Z])
Turn your tolerance down to 10, and try again.
With a few more [SHIFT]-clicks in the light grey areas at tolerance 10, I got this:
This is pretty good, but we can see a few problem spots, especially if you zoom in (zoom tool is [Z]).
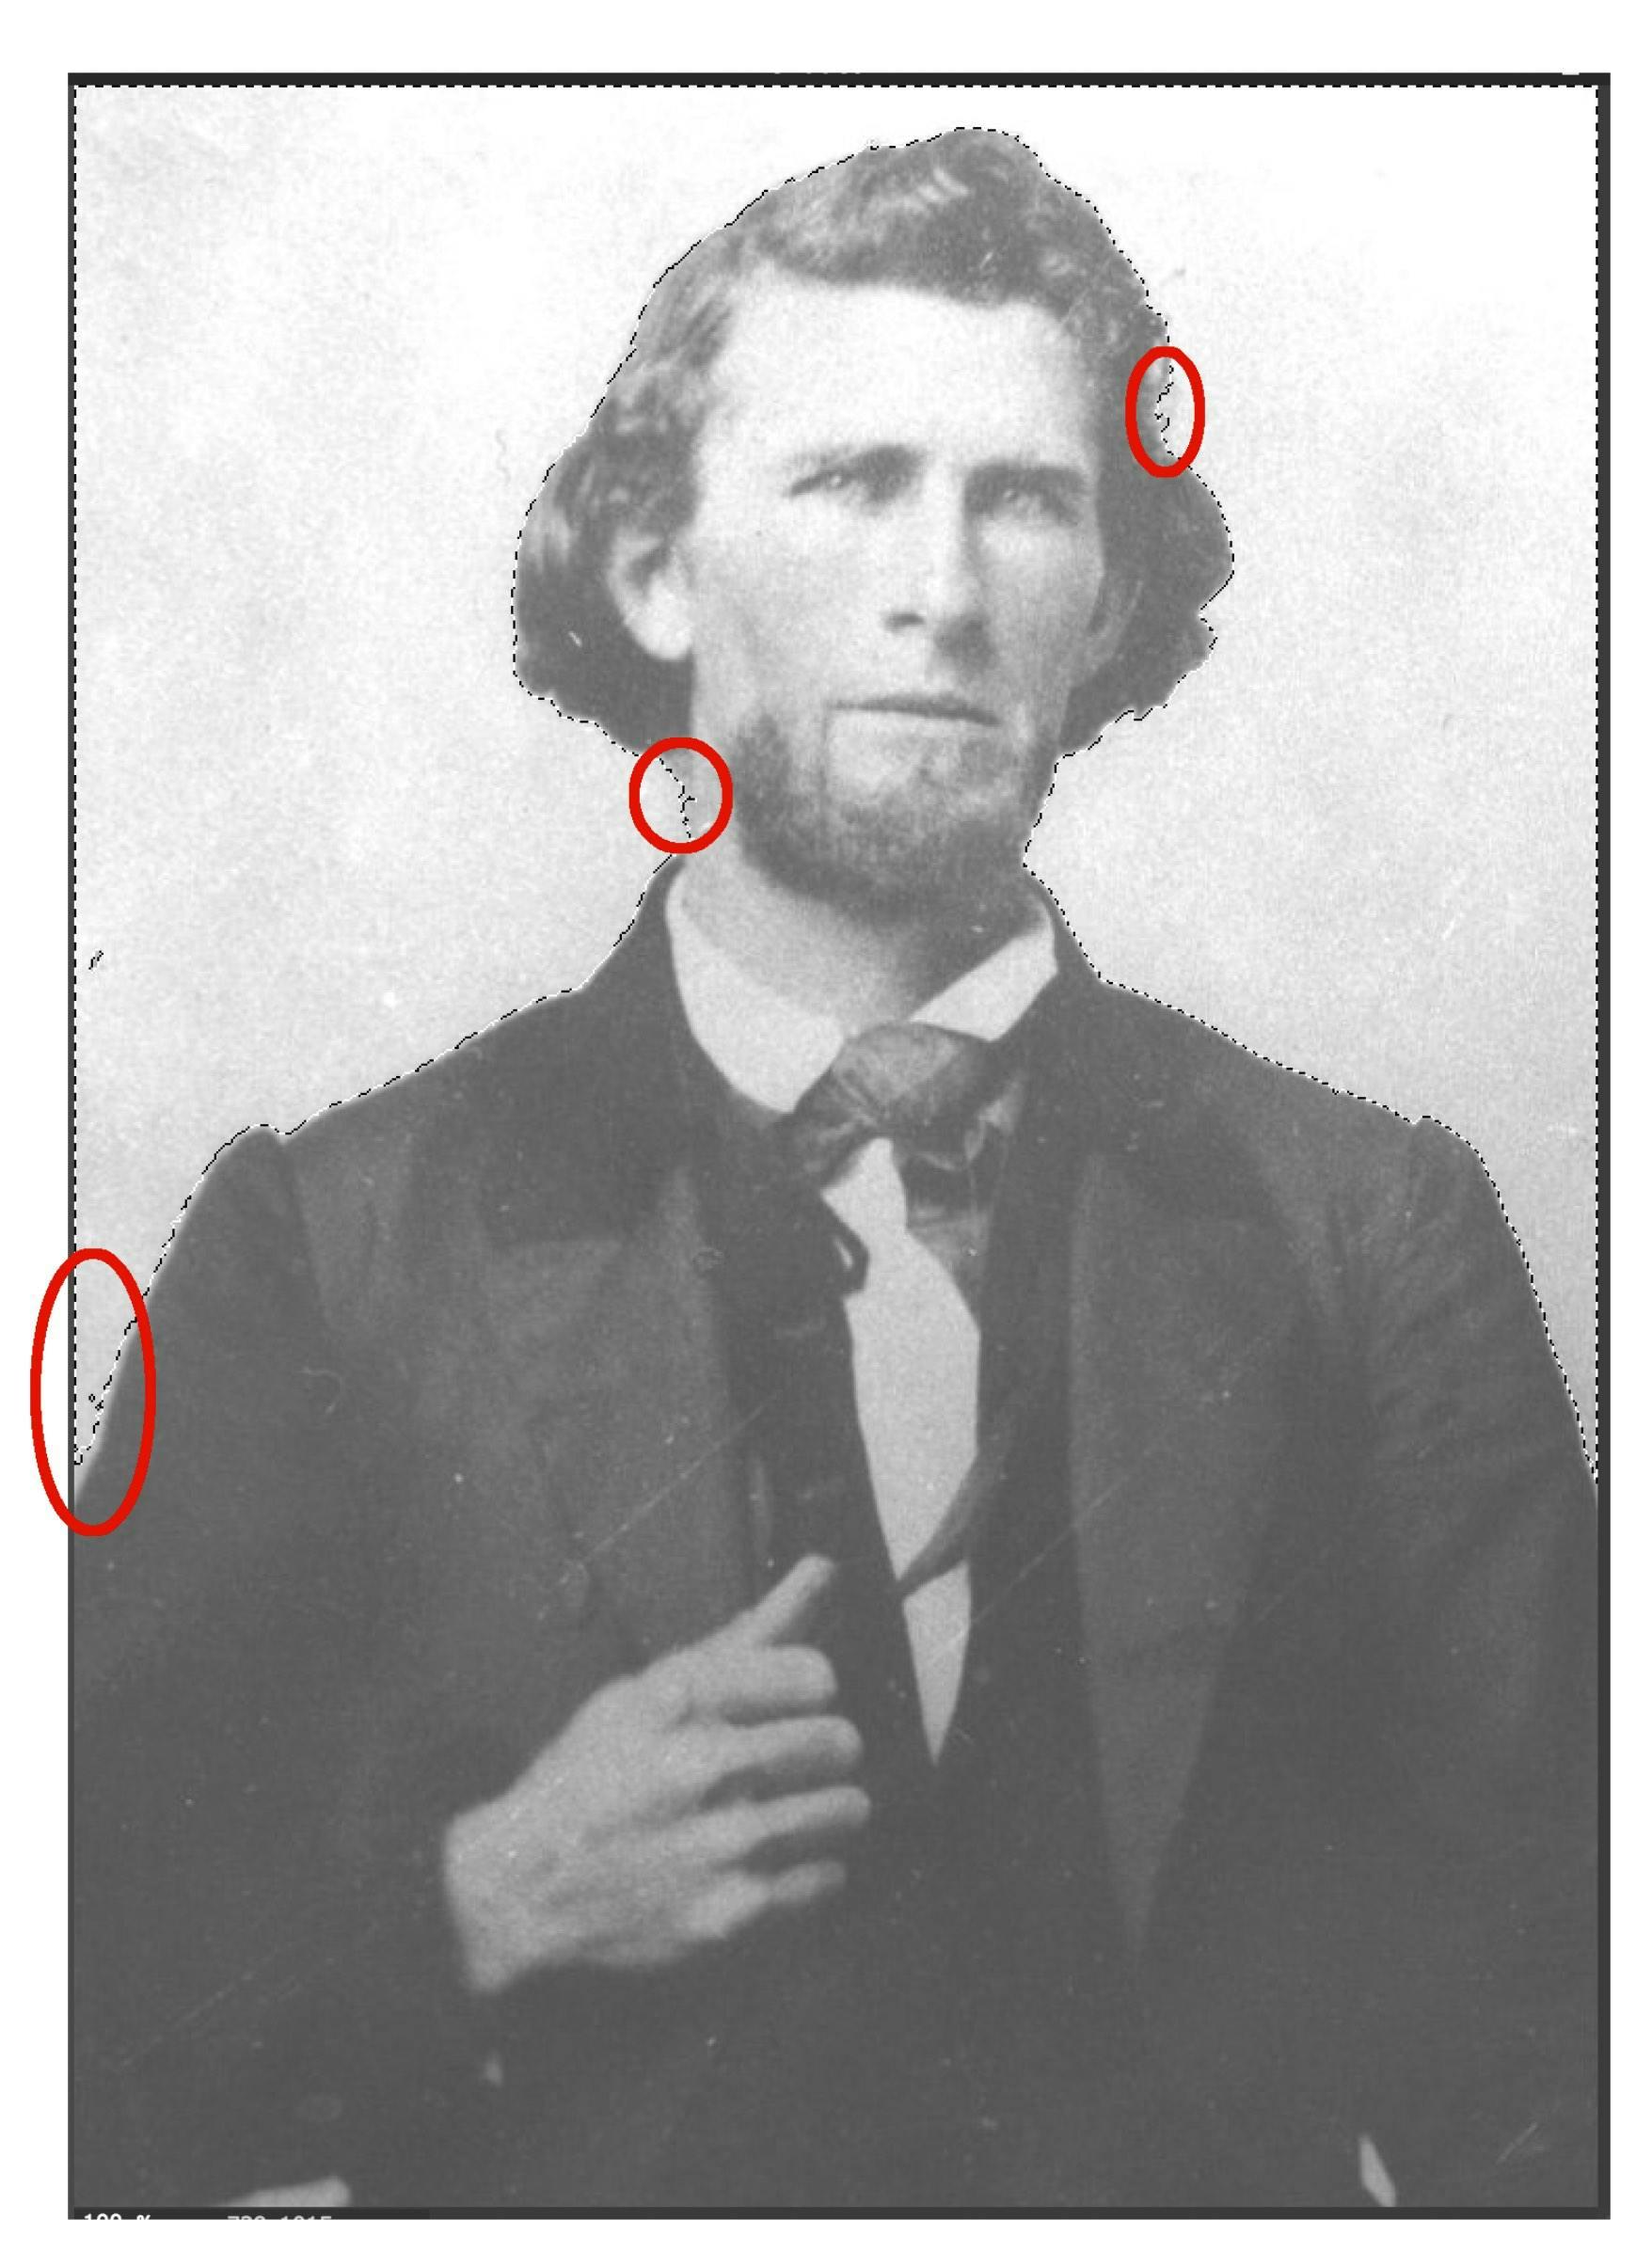
This will often be the case when masking photos. The fastest way to get some of the selection you want is with the Wand tool,but it won’t get everything perfect.
The Lasso Tool
Some tutorials say that if you can’t get what you want with the wand, an alternative is to manually draw the entire selection with the lasso tool. But you can actually combine both tools to work faster and get better results.

Zoom in on the section on the left [Z].
Switch to the Lasso Tool [L].
The lasso tool also has three options along the top. You can choose between the “Freehand Lasso Tool” and the “Polygonal Lasso Tool.” And there are also settings for “Feather” and “Anti-Alias.”
The Freehand Lasso Tool draws a selection line wherever you move the mouse, so long as the mouse button is held down. With the Polygonal Lasso Tool, each time you click the mouse, it makes a straight-line selection between the points you click. For making a selection along straight edges, the Polygonal Lasso Tool is always better. When selecting curvy things, it’s a matter of preferences. If you have a pretty steady hand and a good mouse, you might like the Freehand Lasso Tool. If you’re on a little trackpad or just prefer more control, you can make selections along curves with lots of mouse clicks with the Polygonal Lasso Tool.
When using the Lasso Tool, holding down the [SHIFT] key will add the area you select with the tool to the current selection, and holding down the [CONTROL] key will make it subtract the area you select from your current selection. (In Pixlr, you must still be holding down the modifier key when you let the mouse button up for the modifier to work.)
Use the lasso tool with these modifier keys to add and subtract from the selection you made with the wand tool until you’re happy with the selection.
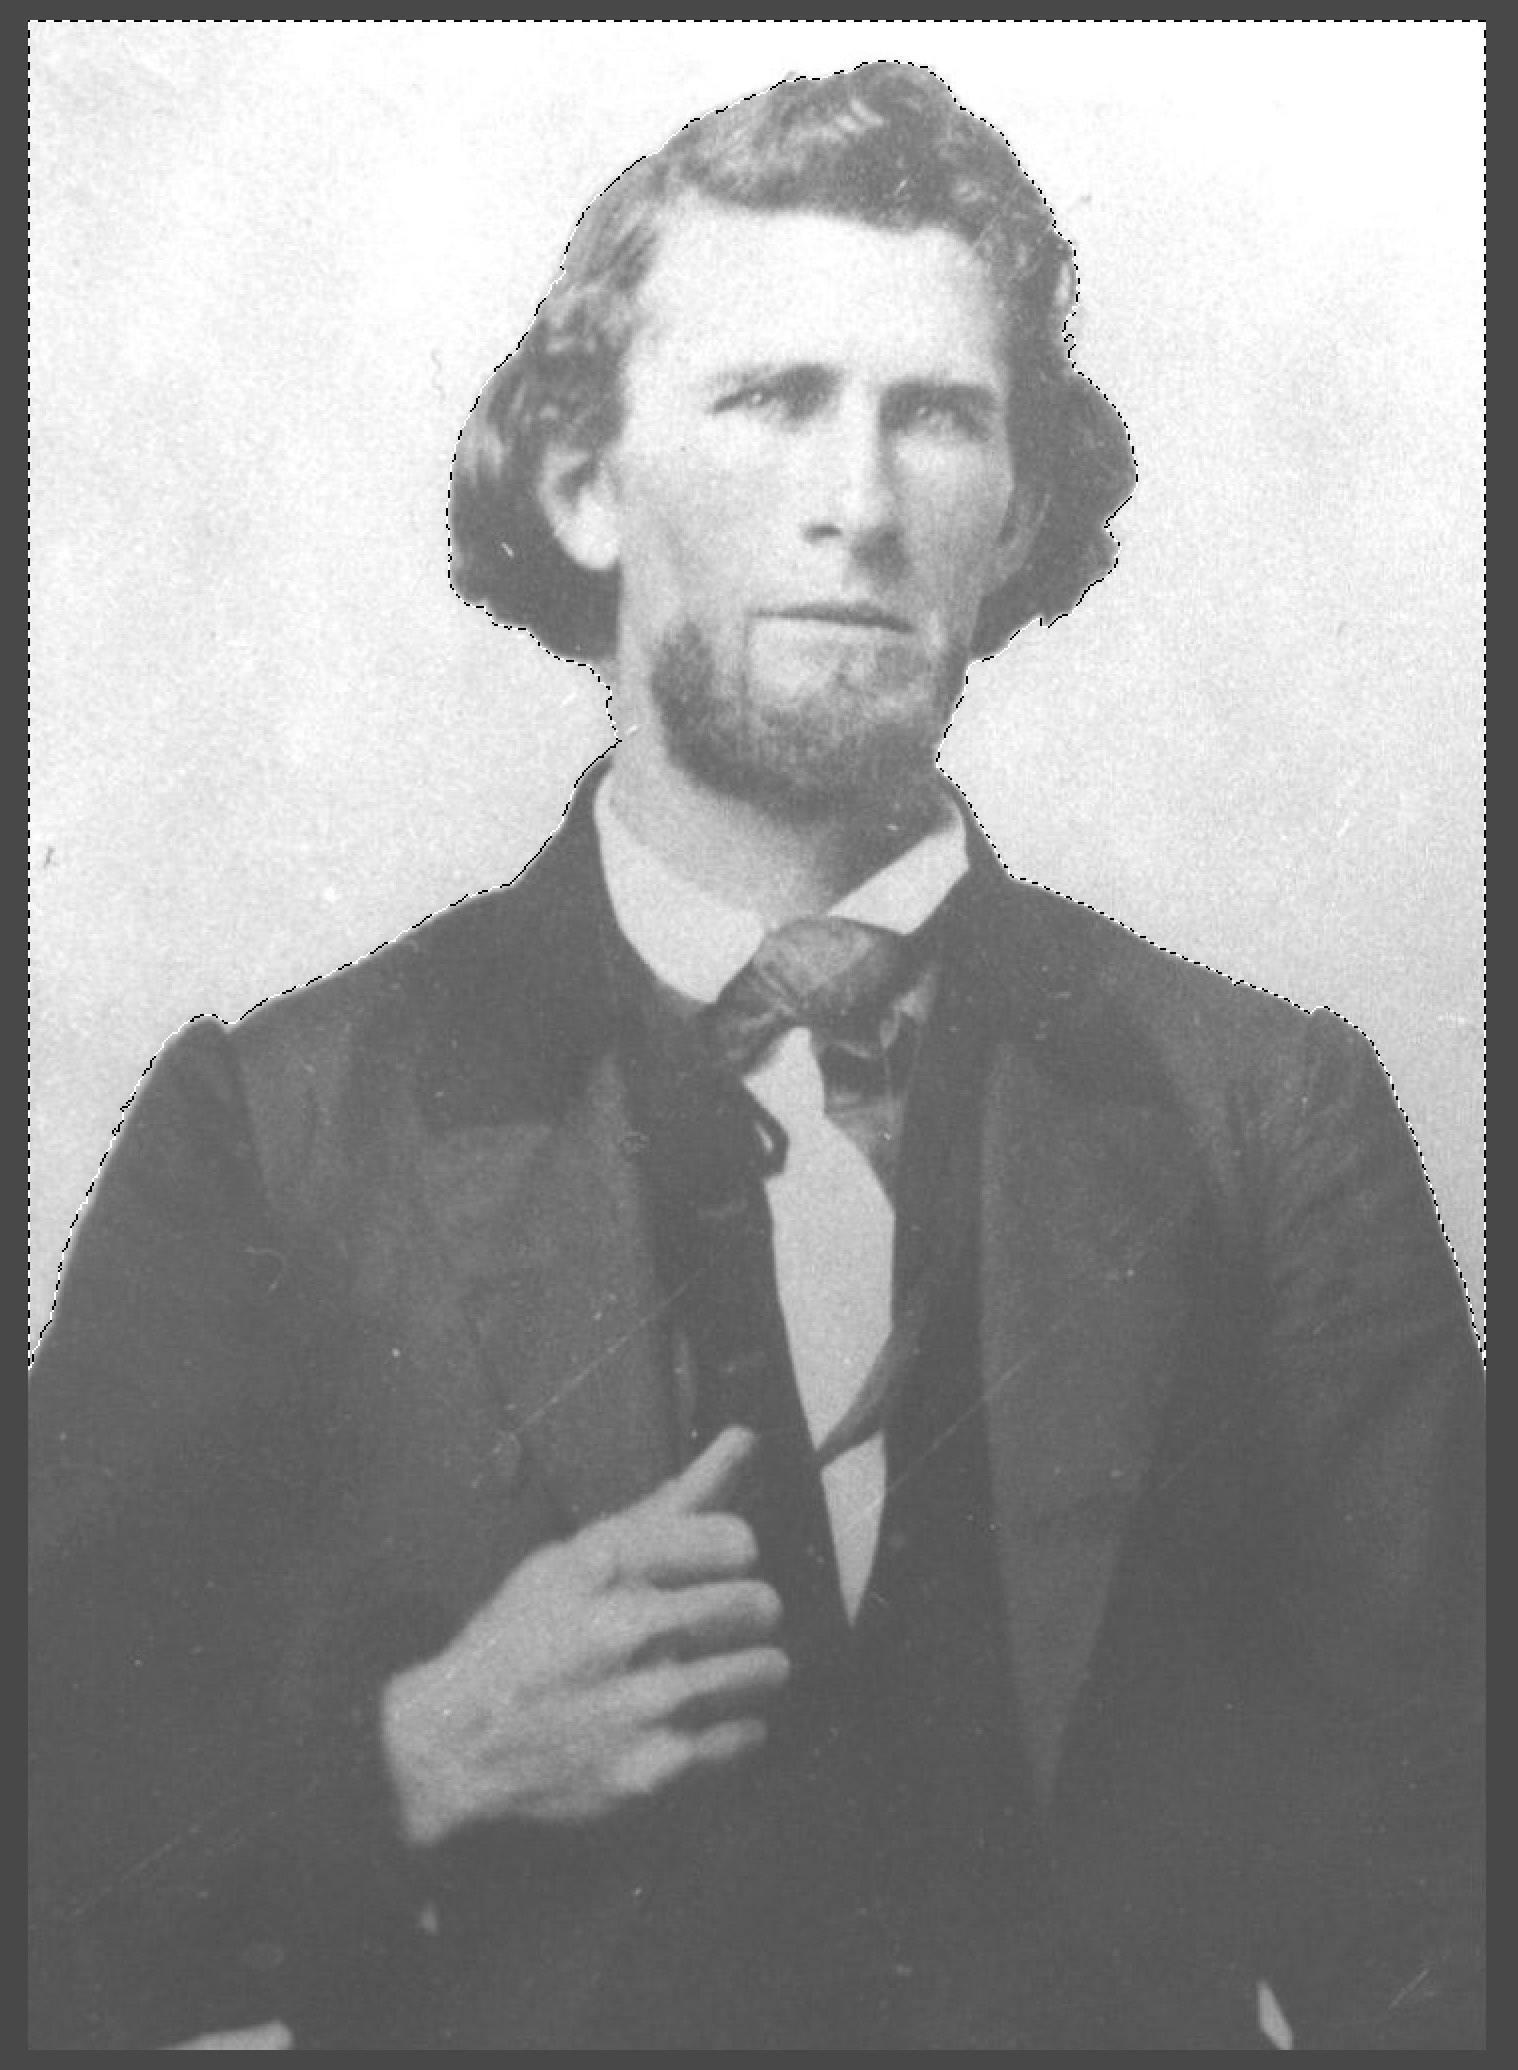
Now it’s looking good!
But if you zoom in a whole lot on the edge of your selection, you’ll see that it’s still not perfect. It’s really hard to get it “perfect,” and what’s perfect can be difficult to figure out before you have a background to see it against.

We’re going to use a trick that’ll help us adjust a bit later.
New Layers and Filters
If you’ve never really done this before, the whole process can be a little confusing. I went ahead and made sure to take a few different screen shots that should help you understand exactly what you need to do, and where you need to go to do it.
In Pixlr, go to the “Layers” panel and click the “New Layer” button.
Next, go to the “Edit” menu and choose “Invert Selection.” This switches from the background being selected, to Uncle Crabtree being selected.

Choose the Paint Bucket Tool [G], and make sure your current color is Black.

Now, click on the image.
It should look like this:
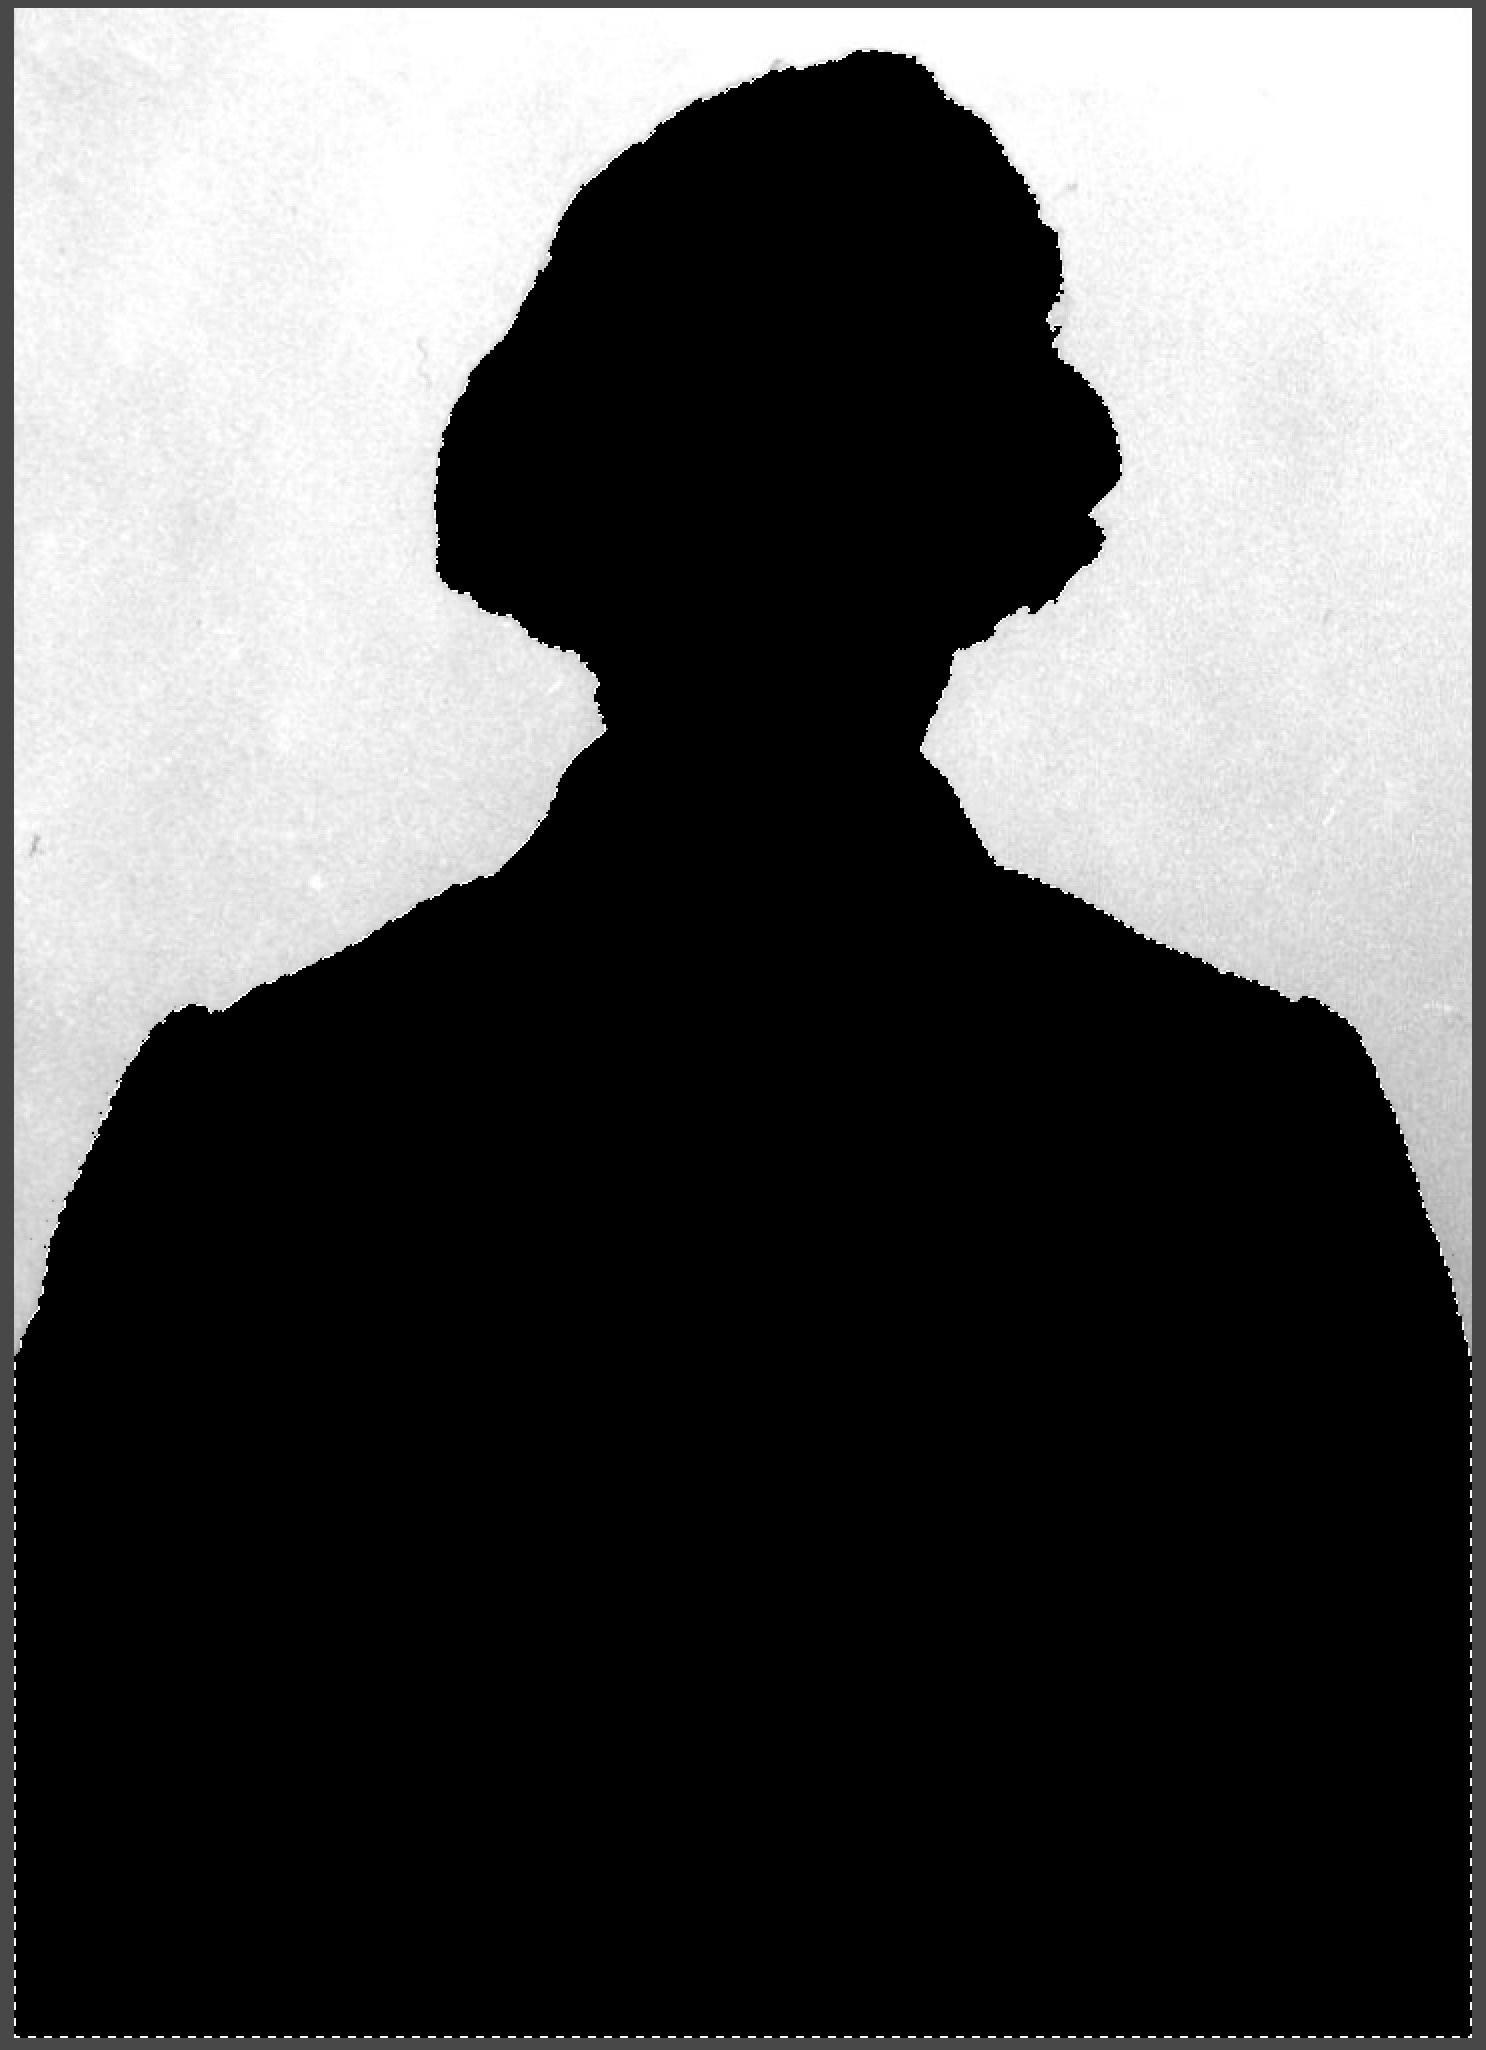
Deselect (Edit -> Deselect All or [CONTROL + D]).
Now, go to the filter menu, choose “Guassian Blur,” enter “15” for the amount, and click “OK.” This should blur the edges of Crabtree’s silhouette.
Go back to the Wand tool [W], and bump the tolerance up to a high number (I started with 80), and click inside the black silhouette of Mr Crabtree.
In the “Layers” panel, uncheck the checkbox to the right of Layer 1.

Then double click the lock icon to the right of Layer 0.Right click on Layer 0, and from the pop-up menu, choose “Add Layer Mask.” Your background should disappear.
If you’re trying to remove the background to print your art on a shirt, simply create a new layer, move it to the bottom of the list on the right-hand side, and fill it with a solid color. We recommend picking a color close to the shirt color on which you’d like to print. In this instance, I’m using a picture for a background, so I’ll do that, instead. Either works!
To open a second image, go to the File menu and choose “Open Image URL.”
Paste in this URL and click “OK.”
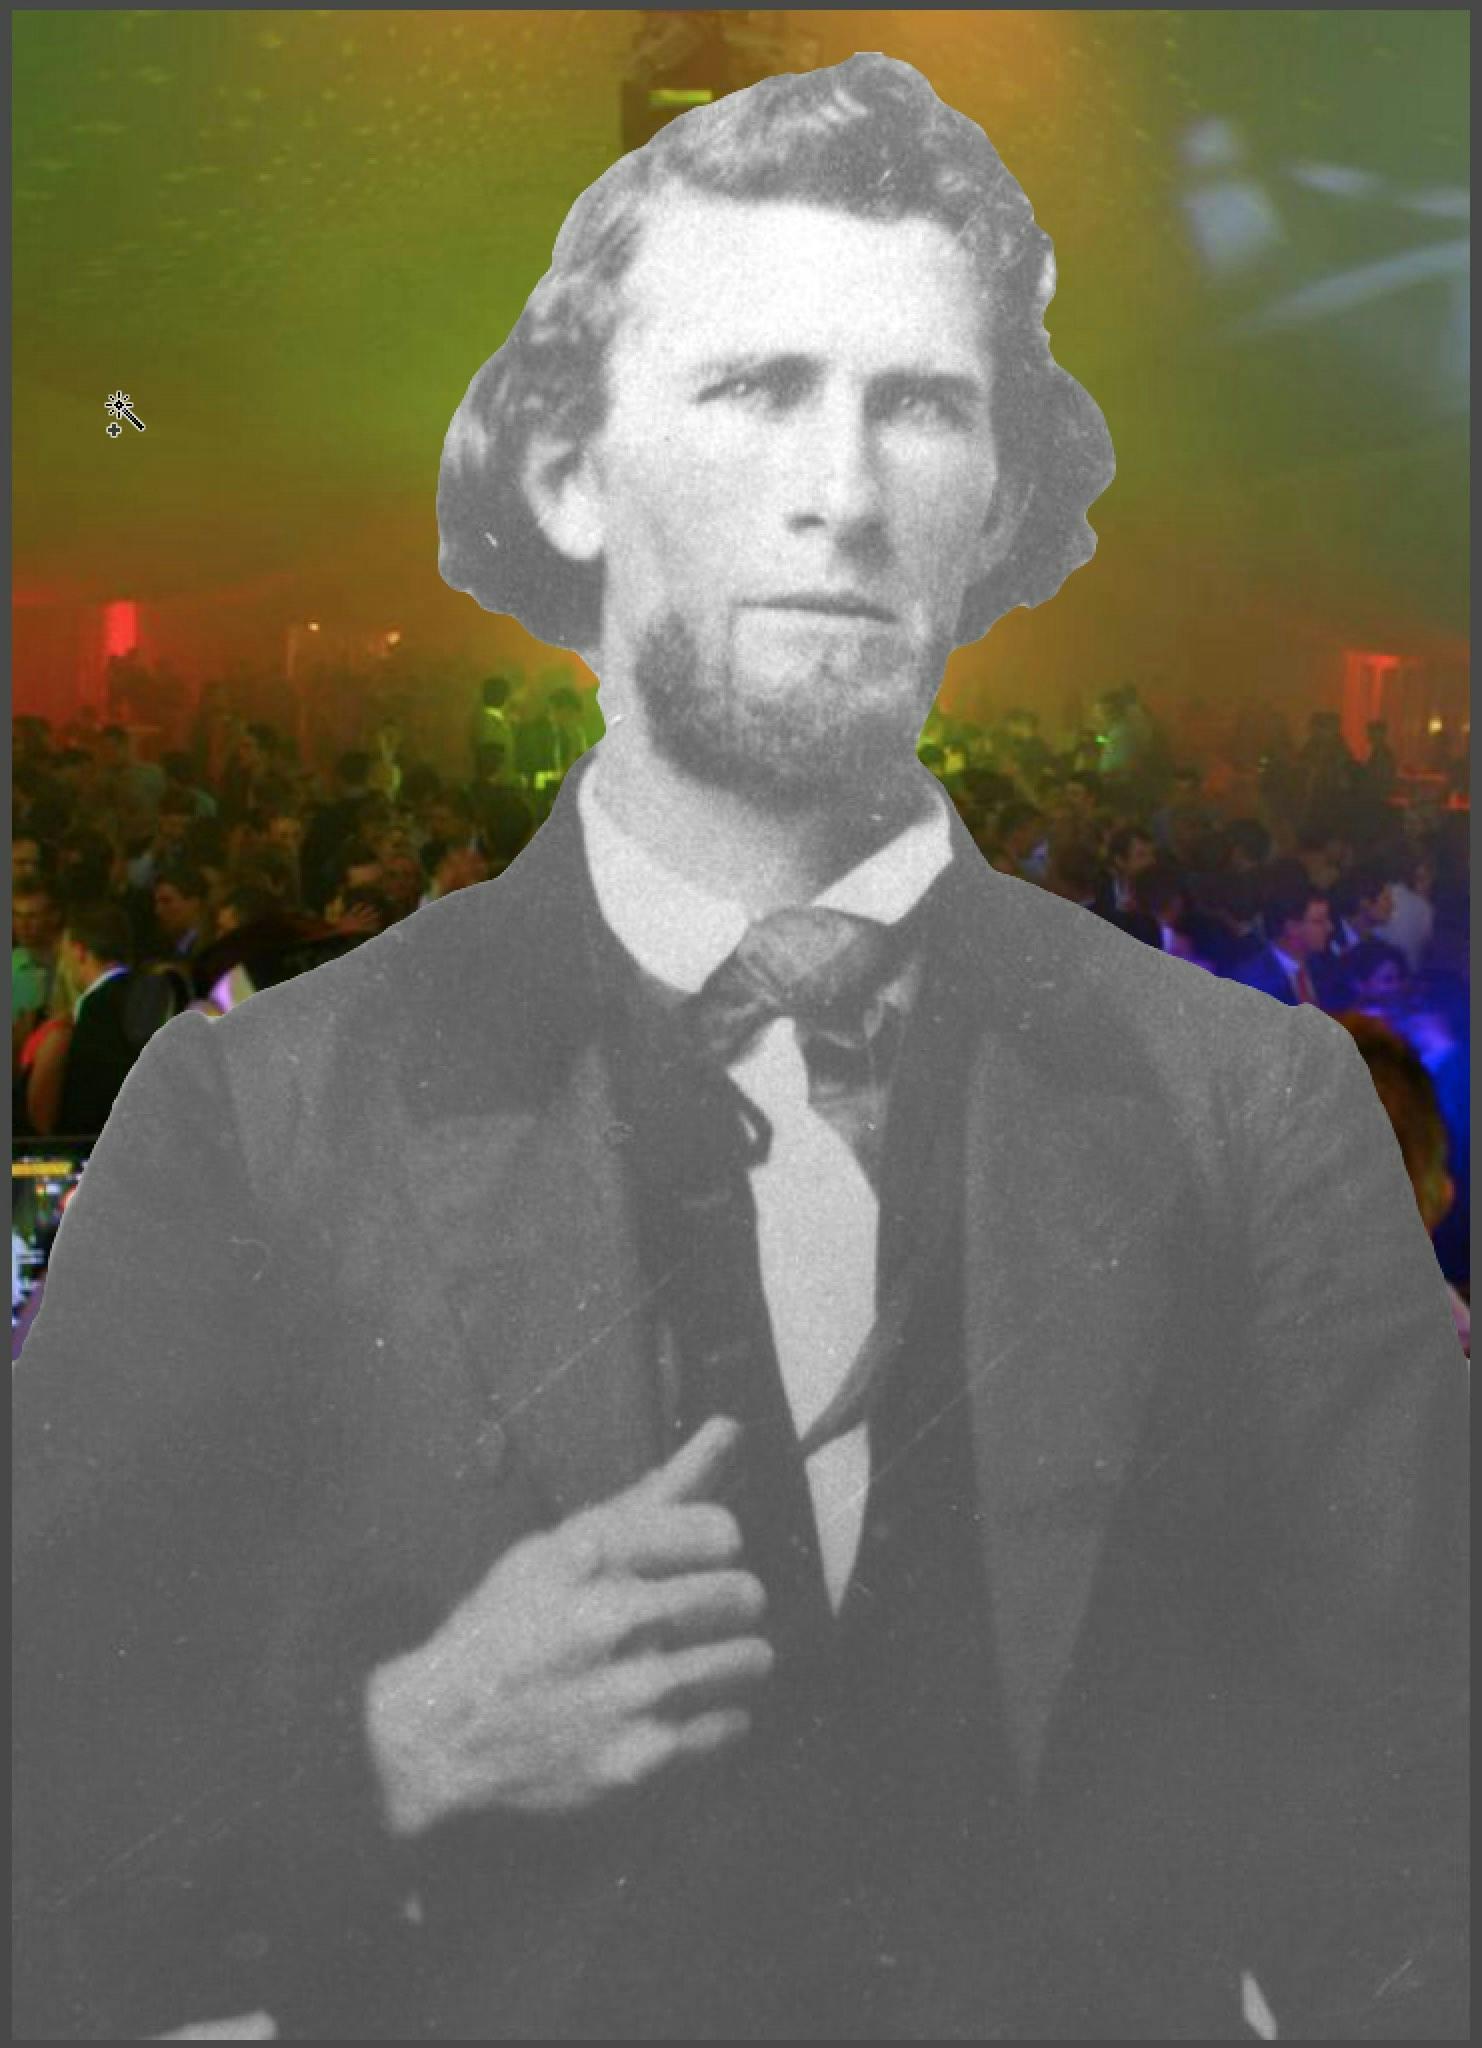
Select all (Edit-> Select All or [CONTROL + A], copy the image,(Edit -> Copy or [CONTROL + C]), and then close it. Paste (Edit-> Paste or [CONTROL + V]. In the “Layers” panel, click on the new “Layer 2” and drag it down below “Layer 0.” Go to the Image menu and select “Free Transform” [Control + T]. Use the controls at the edges of the image to adjust it to fill the area behind Uncle Crabtree.
Now that you have an image in the background, you can get a better idea of how good the background removal was. In this case, there’s sort of a “glow” along his shoulders and hair.
This is why we made the new layer and dyed it black. Rather than starting over, we can quickly change to a line that cuts off a little more of the original picture.
In the “Layers” pallet, click the checkbox to turn Layer 1 back on, and click on Layer 1 to make it active.
Go back to the Wand Tool [W], and bump the tolerance down a little bit. This time, I’m going to try 45.
Click with the wand inside the silhouette again. Uncheck the checkbox to hide Layer 1 again.
Next, right-click on Layer 0 again and choose “Delete Layer Mask” to get rid of the old mask that showed too much. Now right click on Layer 1 again and choose “Add Layer Mask,” and it will make a new layer mask with the more limited selection you just made with the lower wand tolerance.
This one looks pretty good!
It just needs a couple more things to finish up the look.
This step involves some skills that go beyond the scope of this tutorial, but I manipulated the Disco Ball file listed at the beginning of this tutorial and placed it in front of the background. Because I can do that.
Lastly, being an old photo, poor Crabtree looks a little washed out and faded. The darkest shade of black in the Crabtree image is a pretty bright grey compared to the rich blacks in the party people behind him. He needs a little more help blending in in this crowd.
Click on Layer 0 to select it, and the go to the Adjustment menu and select “Curves.”
Click on the bottom left hand corner of the line that stretches across the “Curves” window, and drag it to the right across the bottom edge. You’ll see the darkest parts of the image fade from grey into a rich black. My final curve looked like this:
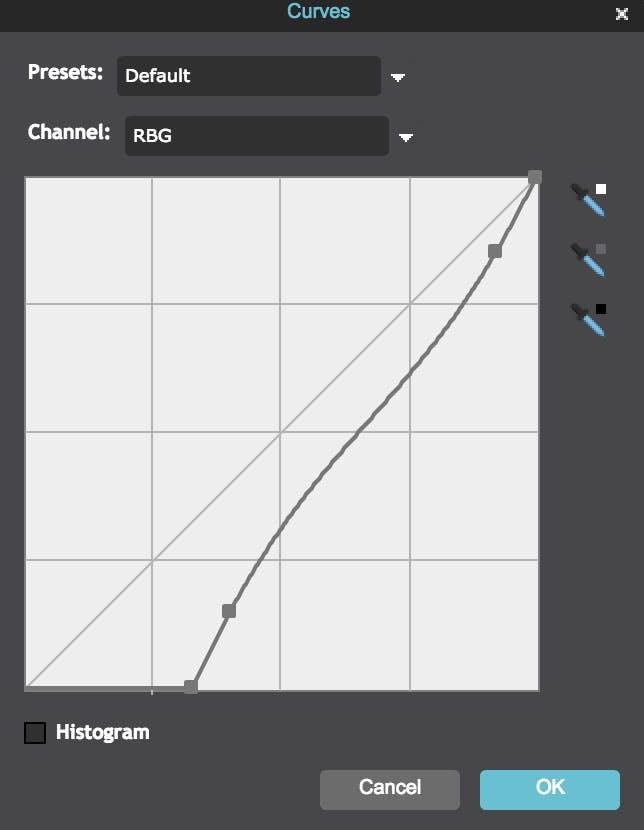
Click OK. there we are! Uncle Crabtree, just as we remember him!
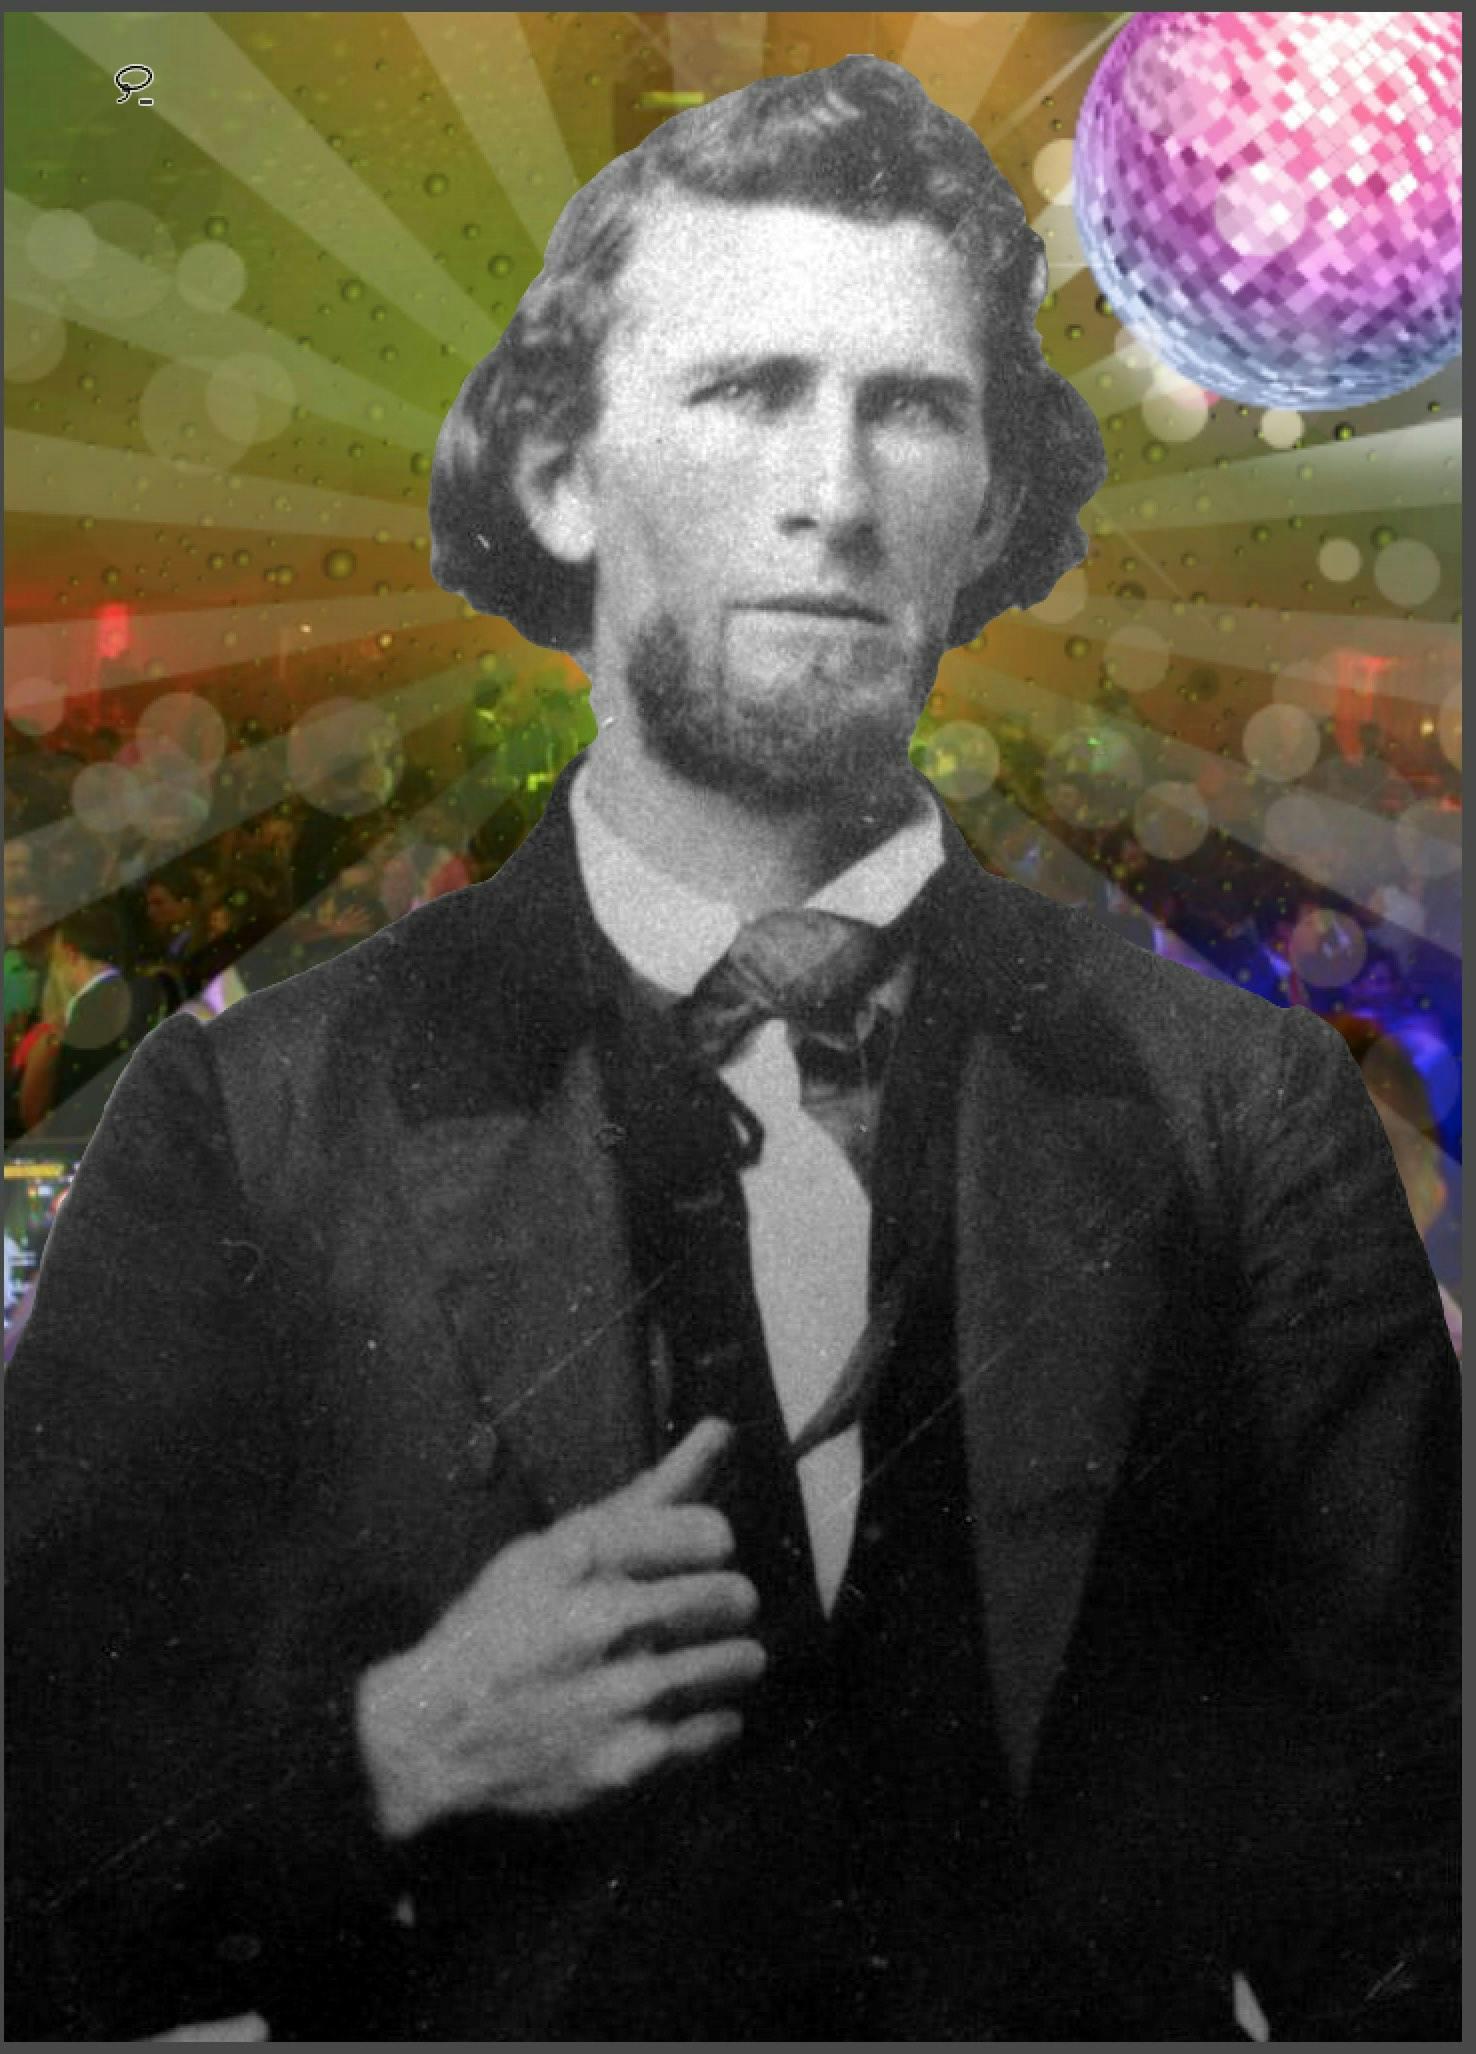
Image Editing Options
This tutorial was done in Pixlr because anyone can use it immediately without downloading or installing anything, which is great. Big shout out to the folks from Autodesk for making it the fchoice. Pixlr is fantastic for a free web tool, but its features are still very limited. There are at least a dozen masking techniques I use in Photoshop that are not possible (yet) in Pixlr. If you want to get more advanced than you can get through Pixlr, you might want to step up to a more powerful photo editor.
There are many out there, but here are a few top Quick Picks
The 600-Pound Gorilla
Of course, the king of photo editors is Adobe Photoshop, but it’s an expensive, subscription-only software.
With Photoshop, if at any time you ever decide to stop paying them whatever they decide to charge every month, the software will stop working and you will lose access to your own images saved as Photoshop files.
Affordable Heavy Hitters
If you are on a Mac, an amazing option is Affinity Photo, which can do a huge amount of what Photoshop can do, runs faster, can even do some things better than Photoshop, and only costs 0.
On Windows, there is Corel Paintshop Pro, which is only 0 and can also do a lot of what Photoshop can do for a whole lot less.
Free
There are plenty of free photoshop alternatives and background removers. While it’s not quite as fast, polished, or capable as Affinity Photo or Paintshop Pro, GIMP image editor is free, runs on Windows, Mac, and Linux, and has all the tools most users will need.
Note: we hope you find this tutorial useful. It’s fun to learn how to do things like removing the background from your photos, and compositing images together. But if you’re only going through this because you’re ordering t-shirts from us and need the background removed from an image you want printed, there’s an even easier way to get a professional result: JUST TELL US in the notes on your order that you want the background removed, and one of our professional artists will do it for you! No tutorial or software is going to make it easier than we do!

About the Author
RushOrderTees is a nationwide leader in custom apparel. Our screen printing, digital printing, and embroidery services create t-shirts, hoodies, hats and related apparel for individuals as well as group. Our staff regularly contributes knowledge and expertise to our blog to help those interested in creating custom apparel.